VMware vSphere VDP 5.5安装部署
VDP安装部署
作者:在路上(老李) QQ群:384423770
Technorati 标签: VMware vSphere VDP
一、安装
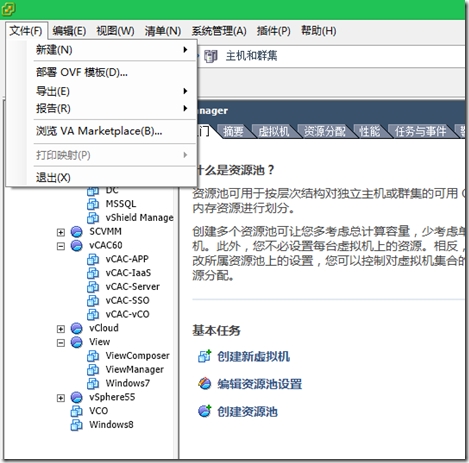
1. 选择“文件”,“部署OVF模板”
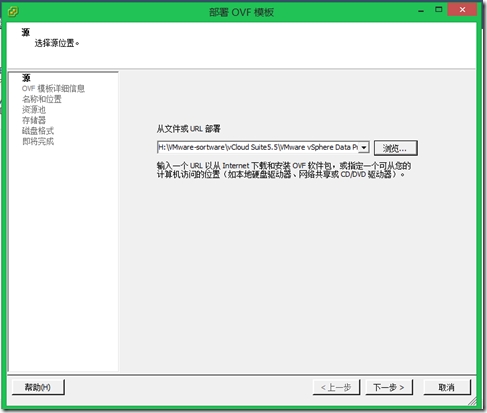
2. 选择VDP虚拟机OVF的存放位置
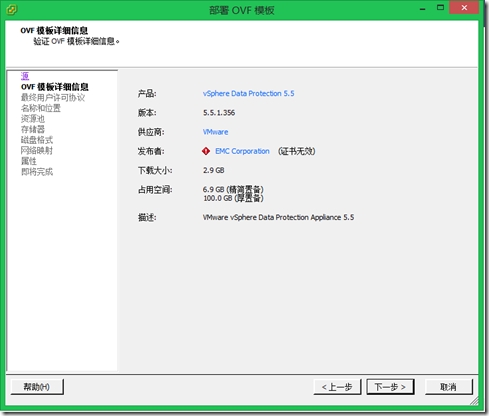
3. 显示VDP虚拟机的相关信息
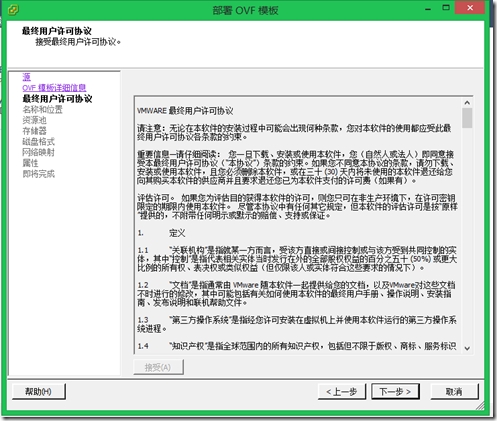
4. 接受最终用户许可协议
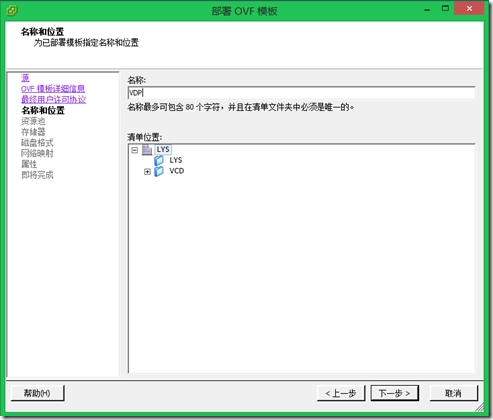
5. 输入虚拟机的名称及清单的存放位置
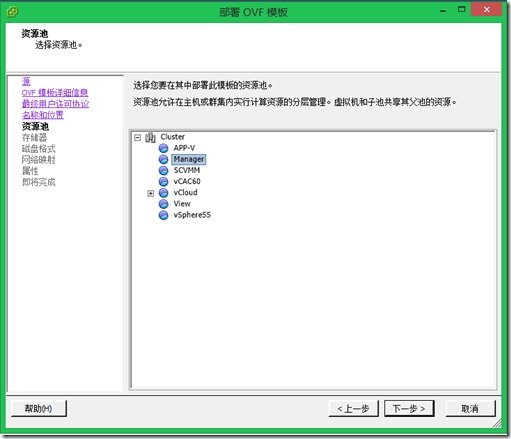
6. 选择VDP虚拟机的存储的资源池的位置
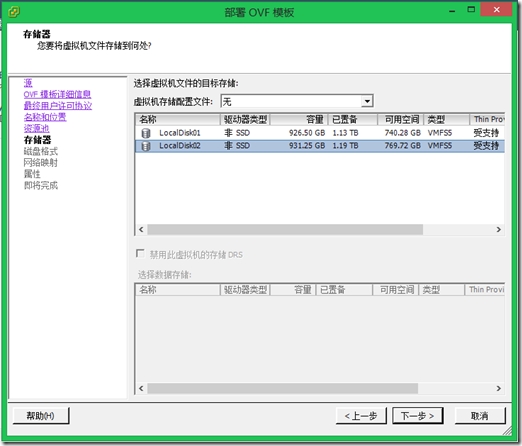
7. 选择VDP虚拟机文件的存放的存储位置
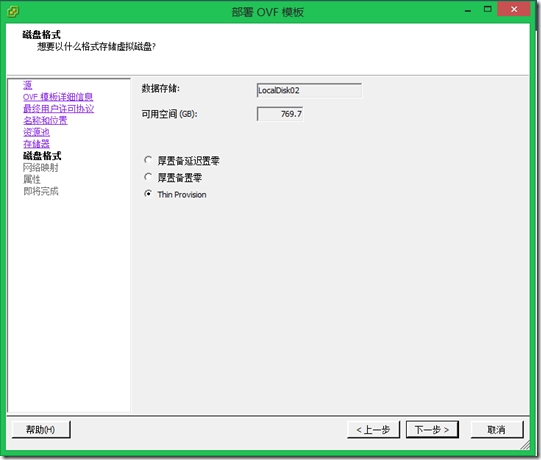
8. 设置虚拟机的虚拟磁盘的格式,设置成“Thin Provision”格式,节约存储空间
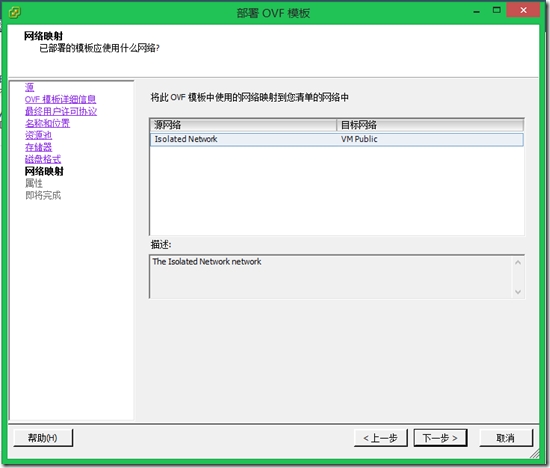
9. 设置虚拟机的管理网络
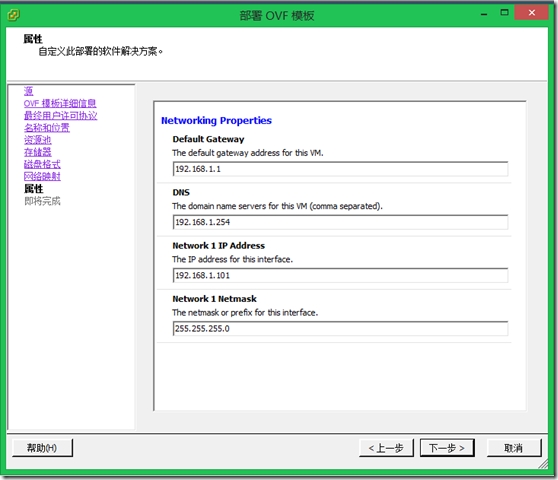
10. 输入虚拟机的IP地址等相关信息
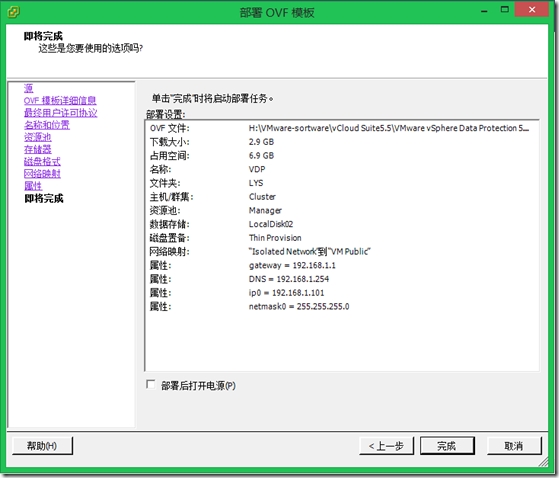
11. 显示即将部署的VDP虚拟机的信息
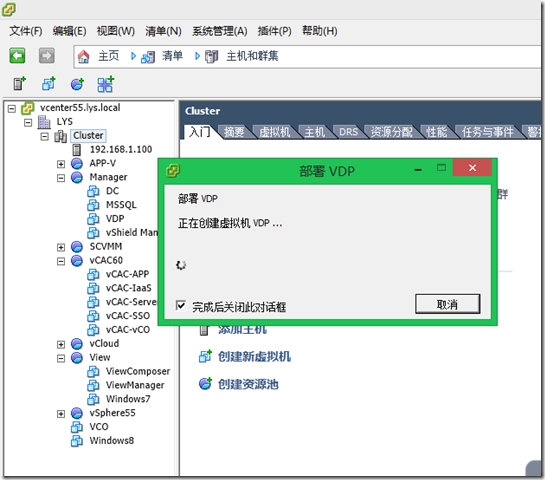
12. 正在部署VDP虚拟机
二、配置
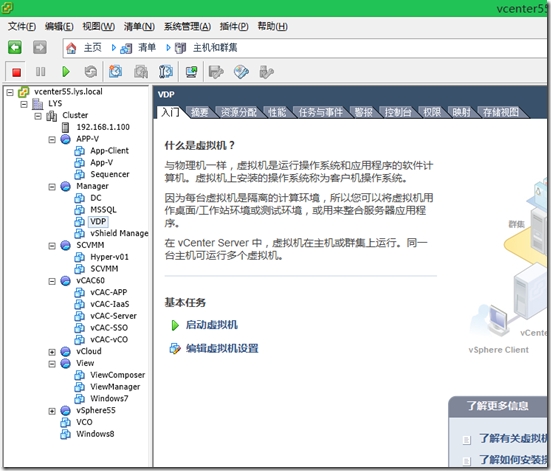
1. 完成VDP虚拟机的部署,选择VDP虚拟机,选择“启用虚拟机”
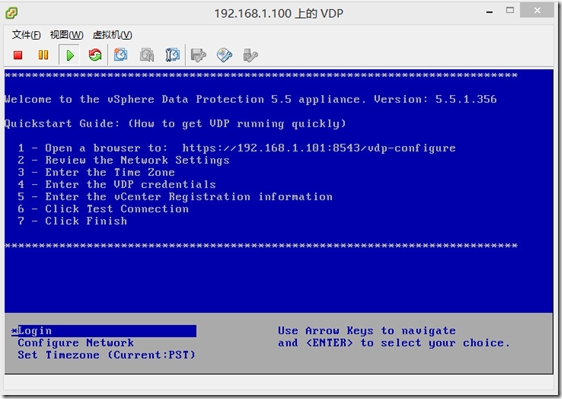
2. 打开VDP虚拟机的控制台界面,按照提示在浏览器上输入https://192.168.1.101:8543/vdp-configure进行VDP初始化配置
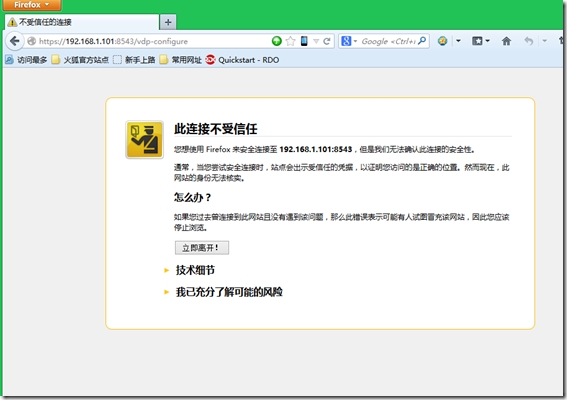
3. 在浏览器输入https://192.168.1.101:8543/vdp-configure,接受不受信任的连接
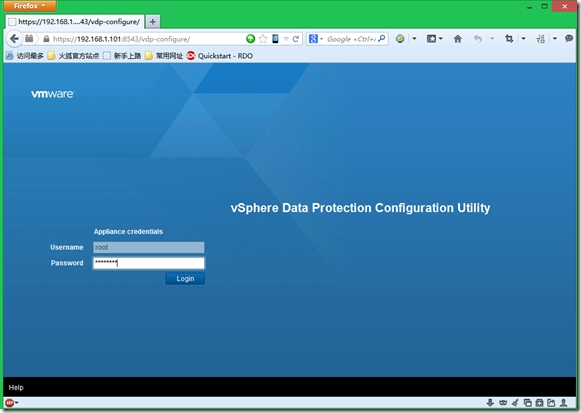
4. 输入默认的VDP用户名和密码,root/changeme,选择“login”
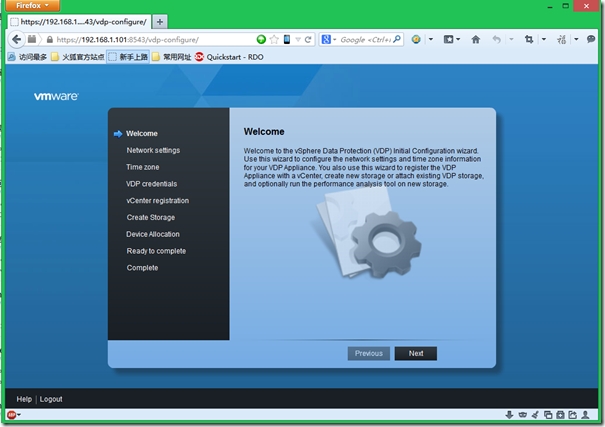
5. 显示欢迎界面,选择“Next”
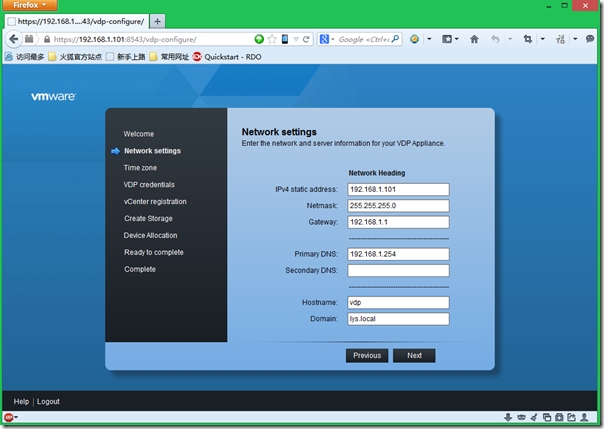
6. 设置相应的网络信息,如IP地址,网关,子网掩码,主机名等信息
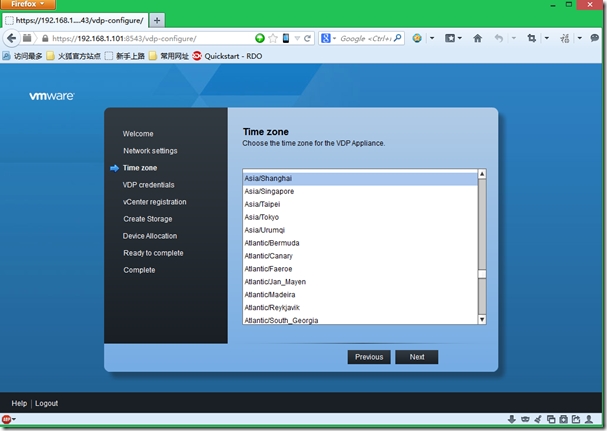
7. 设置时区,选择"亚州/上海"
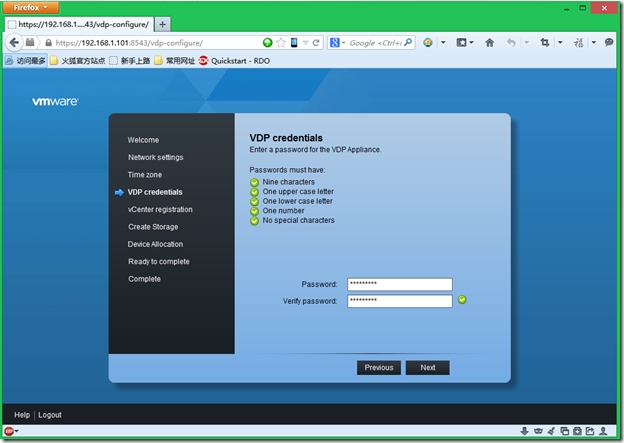
8. 设置新的管理员的密码,必须是9位的,至少一个大写字母,一个小写字母,一个数字,不能有特殊字符,比较变态的密码规定。
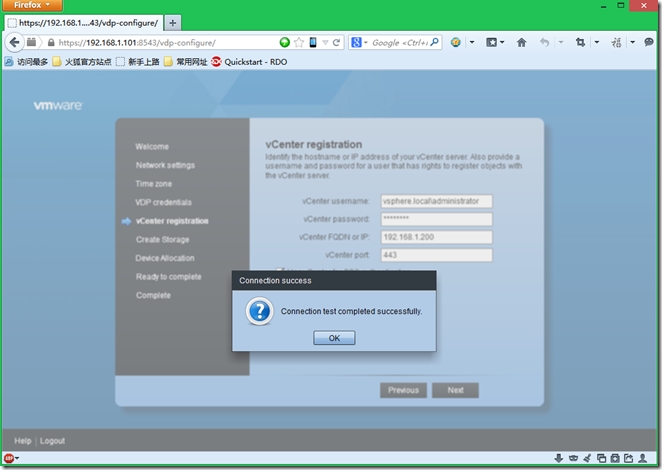
9. 输入vCenter的用户名和密码及IP地址,用户名要有SSO和vCenter管理员权限,本次输入SSO默认的超级管理员,输入格式必须为:vsphere.local\administrator格式,使用administrator@vsphere.local基本上失败。选择测试连接,显示连接成功,选择“Next”
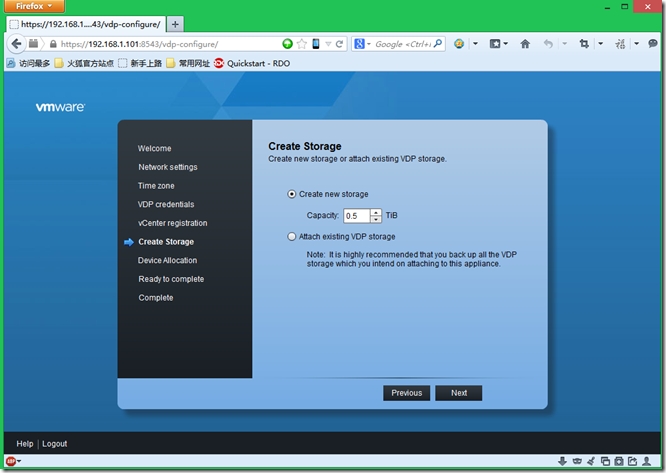
10. 设置存储空间大小,可以设置成0.5\1\2T这三种格式,本次测试环境使用0.5T
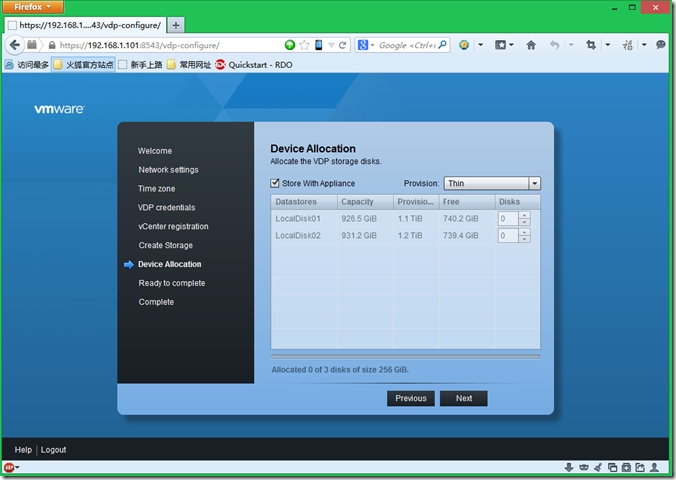
11. 选择存放存储空间的存储位置及磁盘格式,本次和虚拟机存储相同位置及精简置备
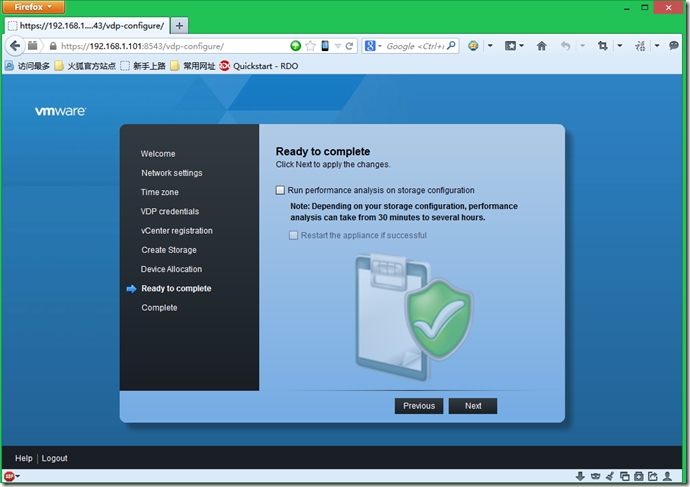
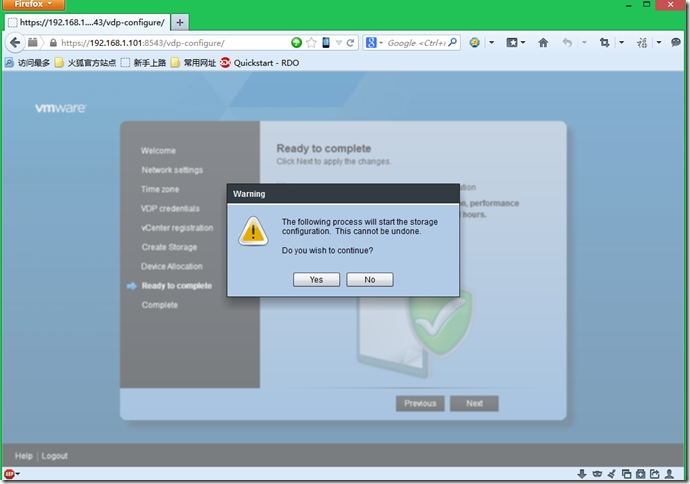
12. 选择“Next”
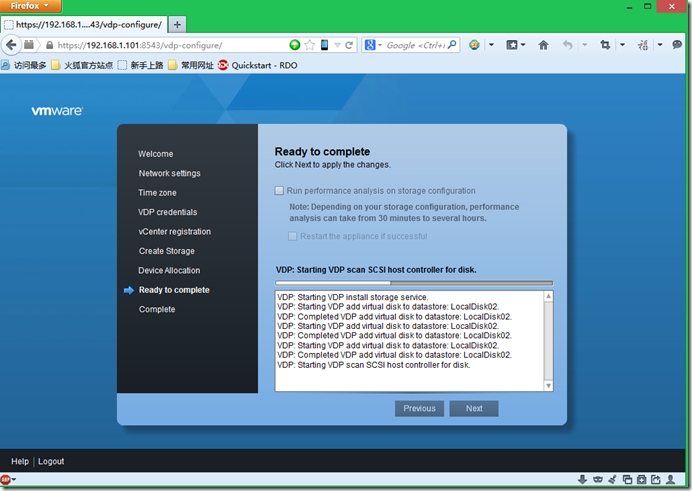
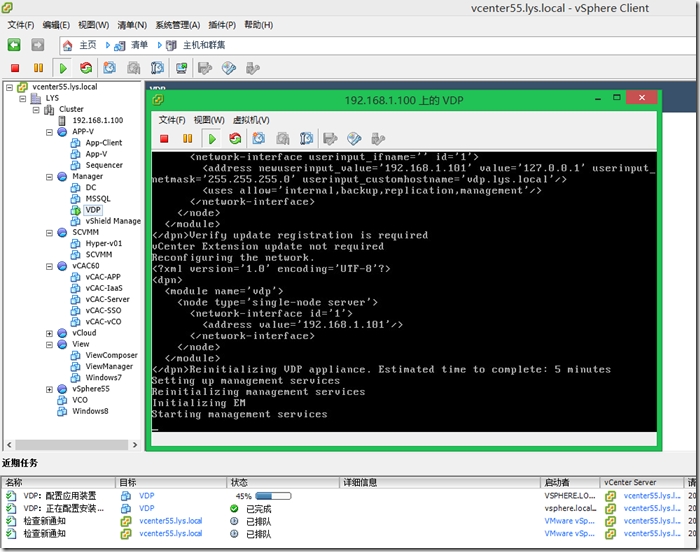
13. 开始VDP虚拟机的初始化
14. 设置VDP虚拟机的虚拟磁盘及控制器等硬件配置
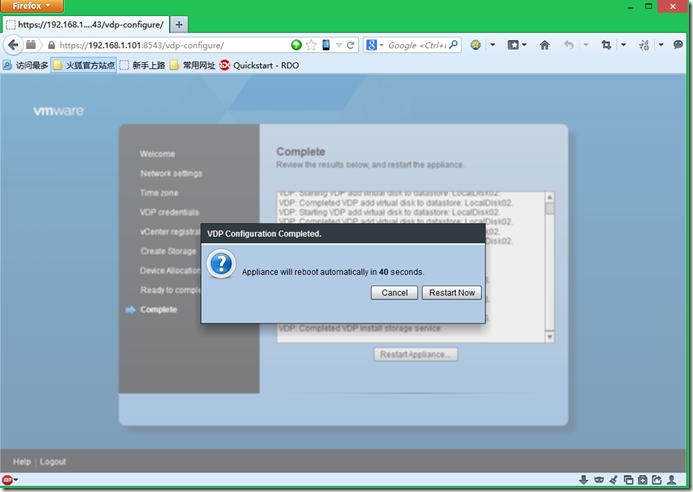
15. 重新启动虚拟机
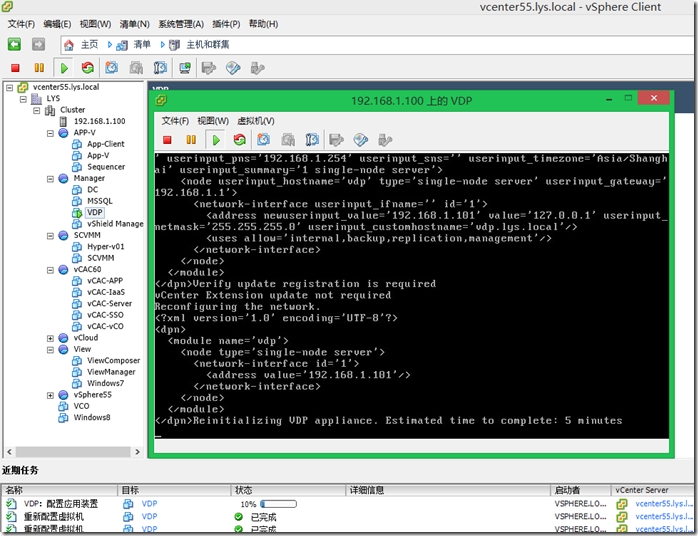
16. 虚拟机启用后,打开虚拟机控制台,显示虚拟机正在初始化操作,需要半个小时左右的等待。
17. 继续等待,直到任务进度条100%完成
三、备份和还原虚拟机
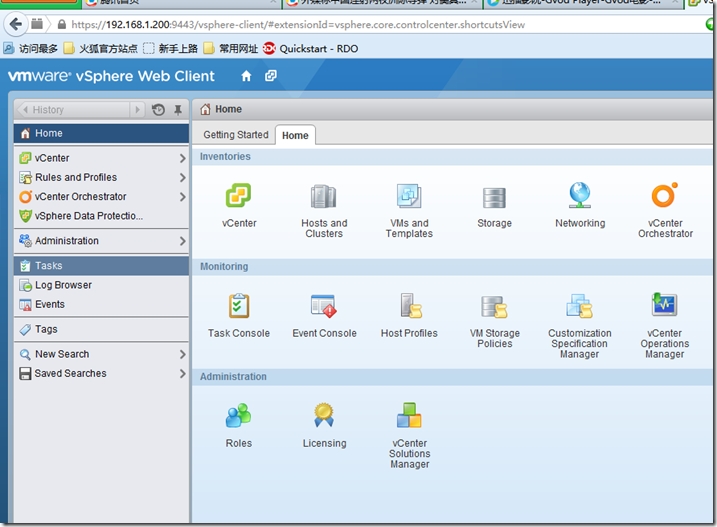
1. 完成VDP初始化后,使用vsphere web client打开vcenter,在左边例表出现“vSphere Data Protection”选项卡
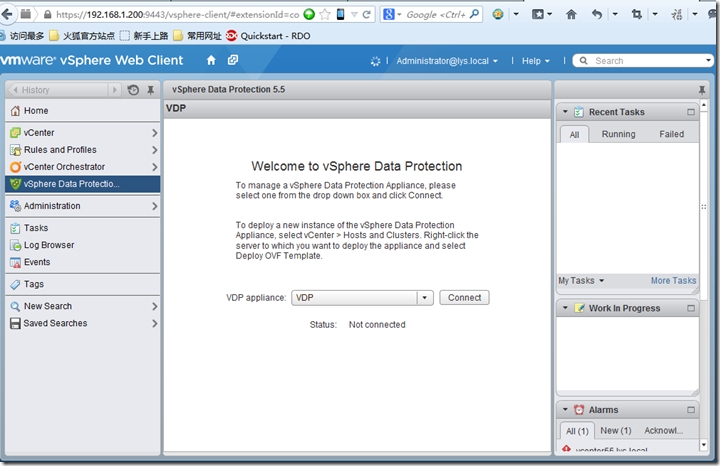
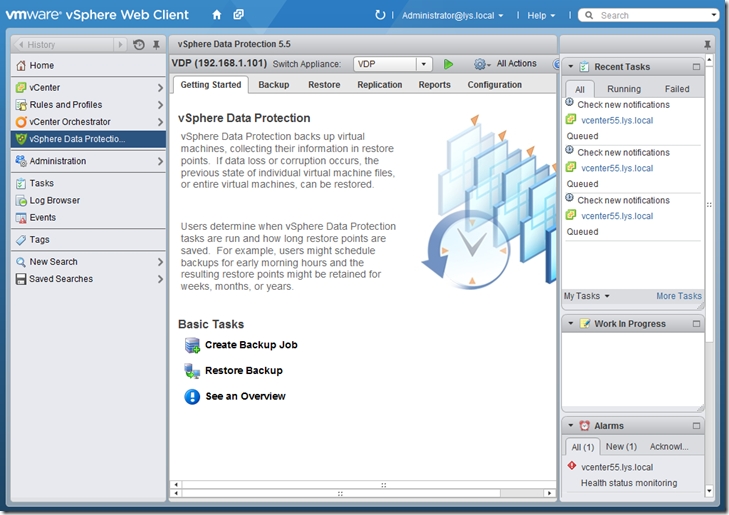
2. 选择VDP,选择“Connect”
3. 选择“create backup job”,开始创建虚拟机备份作业
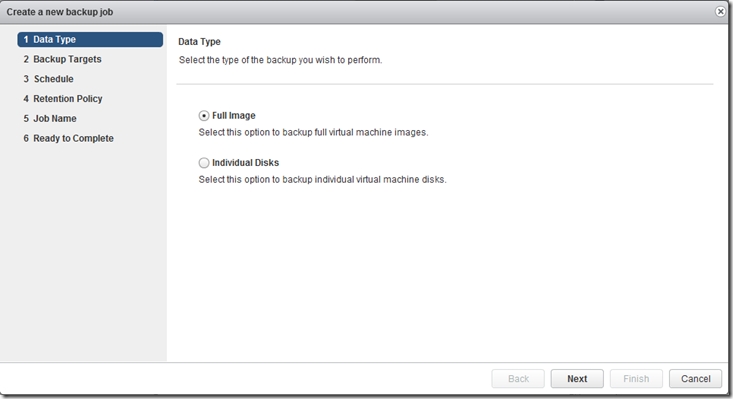
4. 选择“Full image”即整个虚拟机完整备份
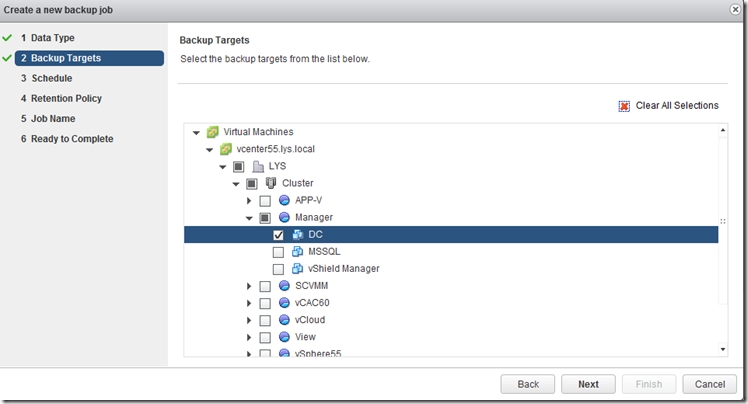
5. 选择需要备份的虚拟机
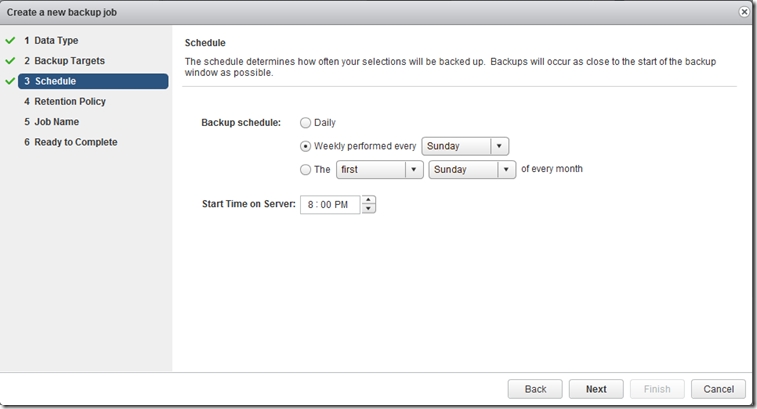
6. 设置作业备份时间。在中文界面下,时间“8:00晚上”是有问题的,在英文界面下没有问题,这个需要注意的。
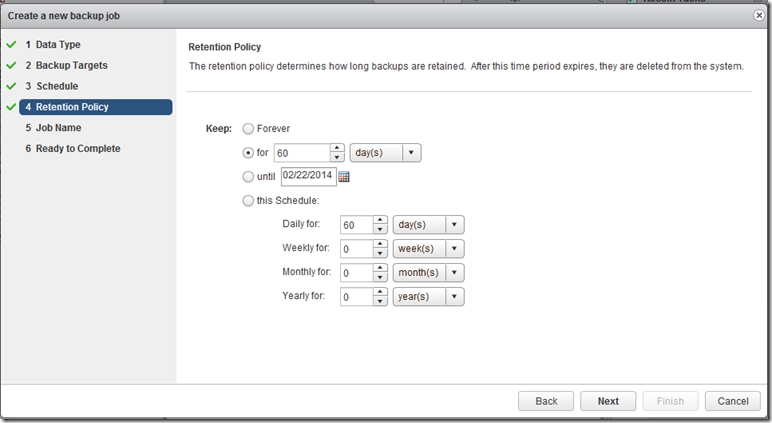
7. 设置备份数据的保留时间,根据需要进行设置
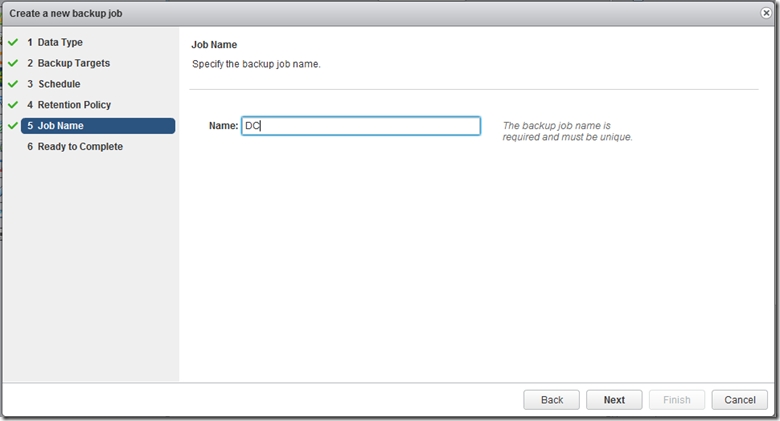
8. 设置备份作业的名字
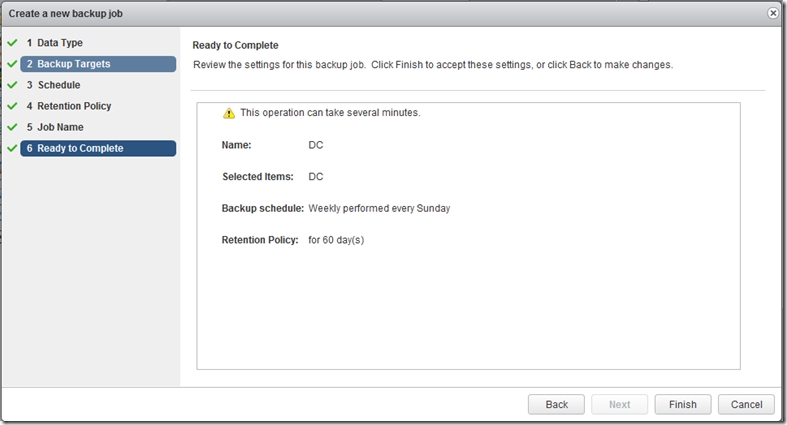
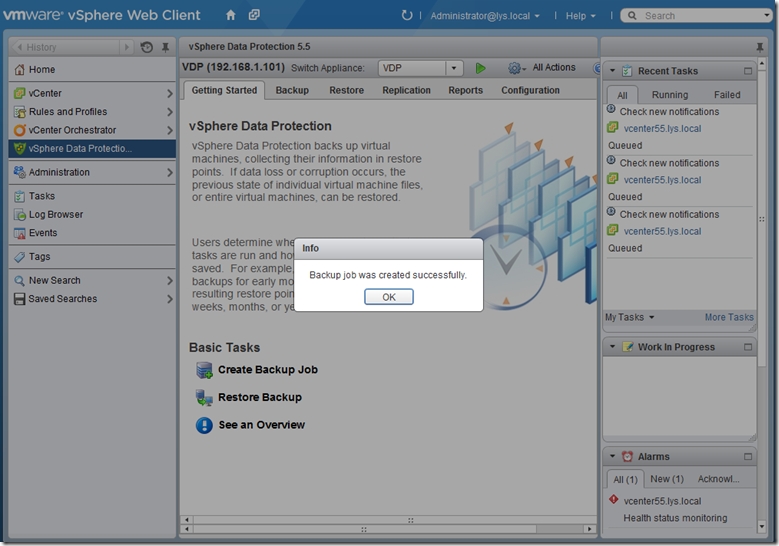
9. 显示备份作业相关信息,选择“Finish”完成备份作业的创建
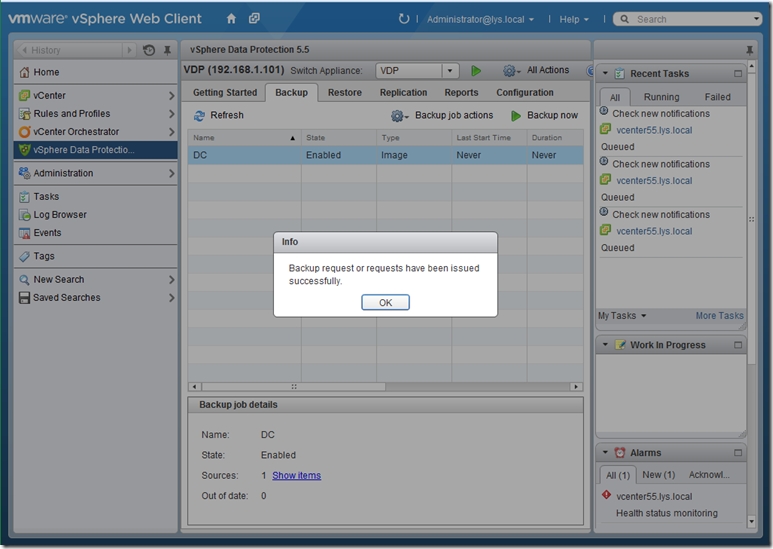
10. 选择“Backup now”开始备份作业
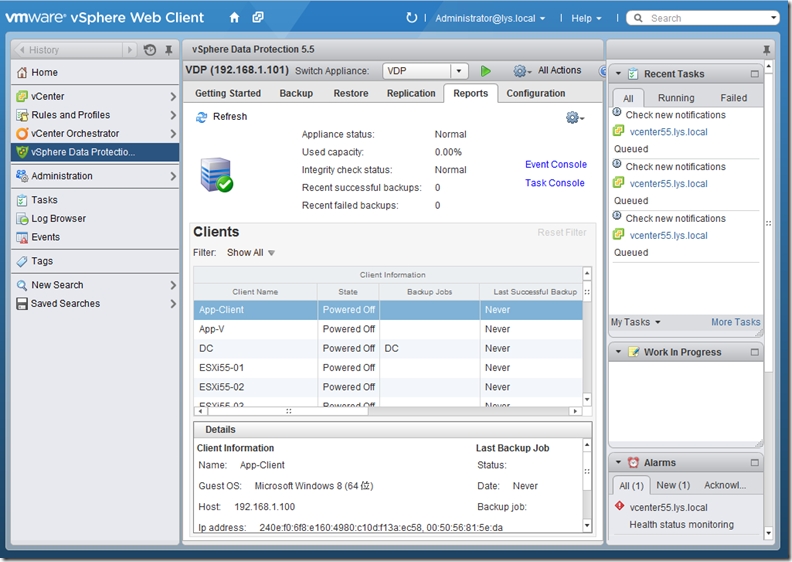
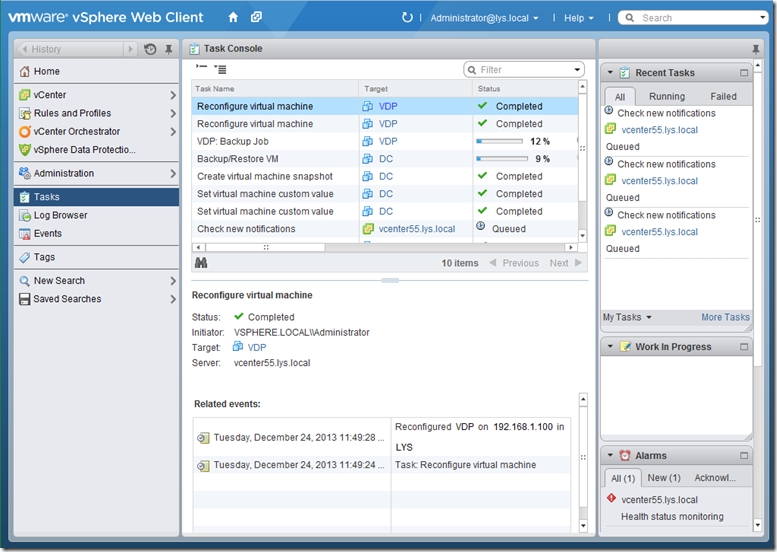
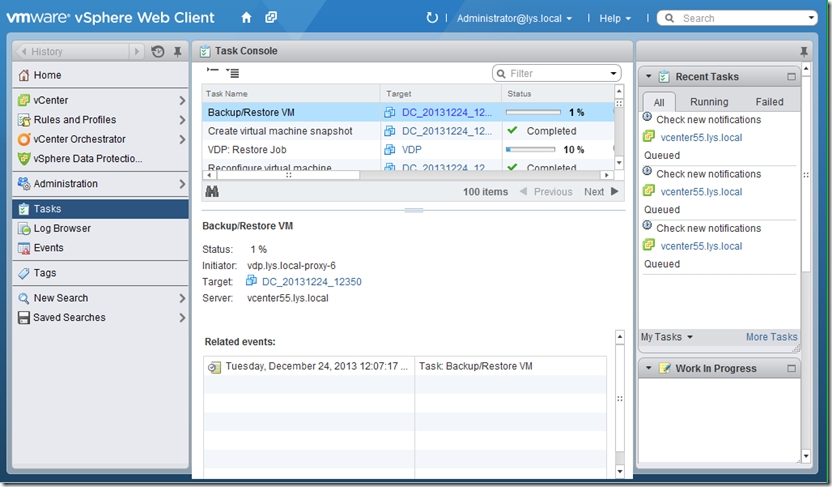
11. 切换到“Report”界面,选择“Task Console”,查看作业备份情况
12. 备份作业备份进度条
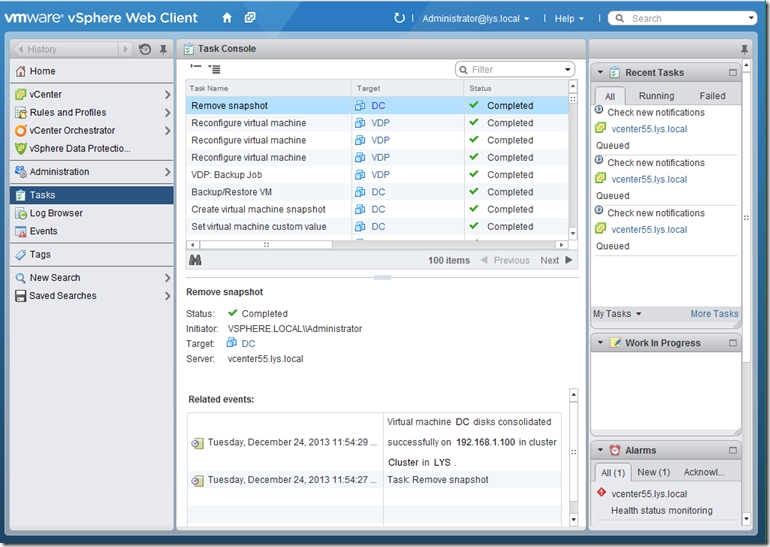
13. 完成作业备份
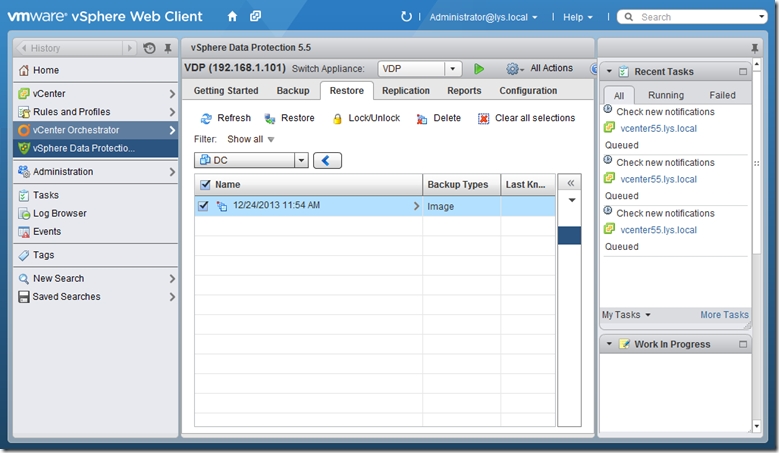
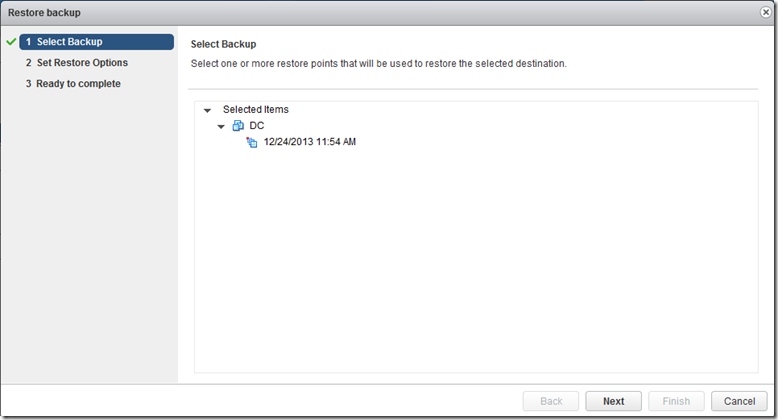
14. 切换“Restore”还原选项卡,选择需要还原的虚拟机及时间点,选择“Restore”进行虚拟机还原作业的创建
15. 显示还原作业的时间点及还原的虚拟机名称
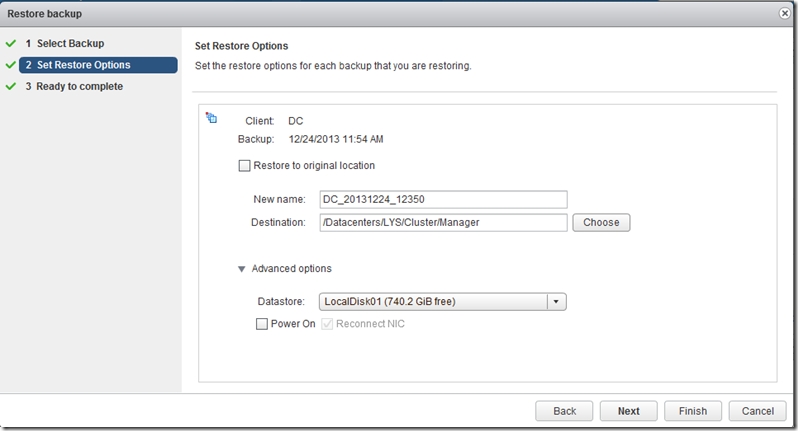
16. 如果覆盖虚拟机,则勾选“Restore to original localtion”,本次不覆盖原虚拟机,重新命名虚拟机,在“Advanced options”设置还原虚拟机的存储位置及打开电源状况。
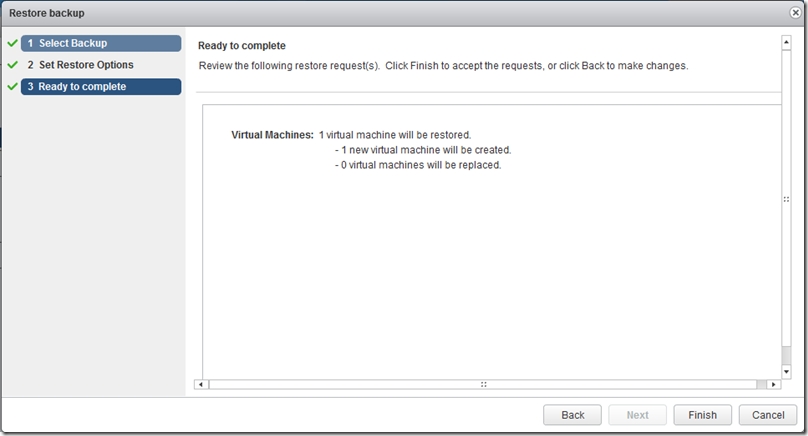
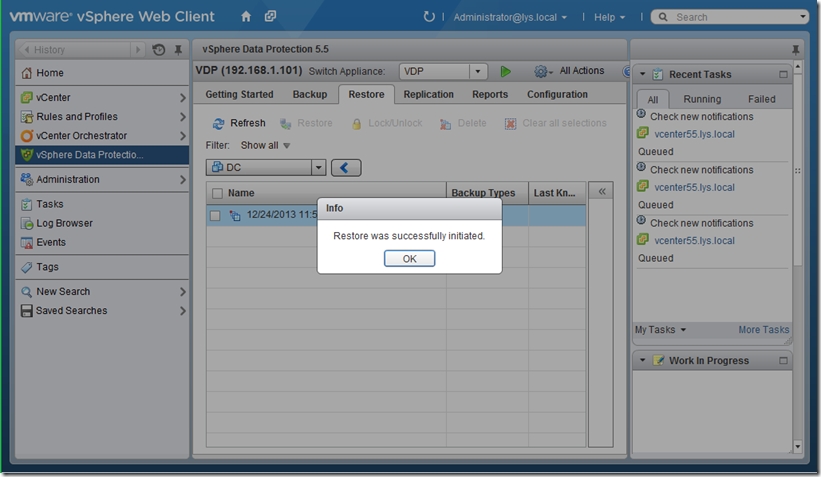
17. 显示还原相关信息情况,选择“Finish”完成还原作业的创建,并开始整个虚拟机的还原
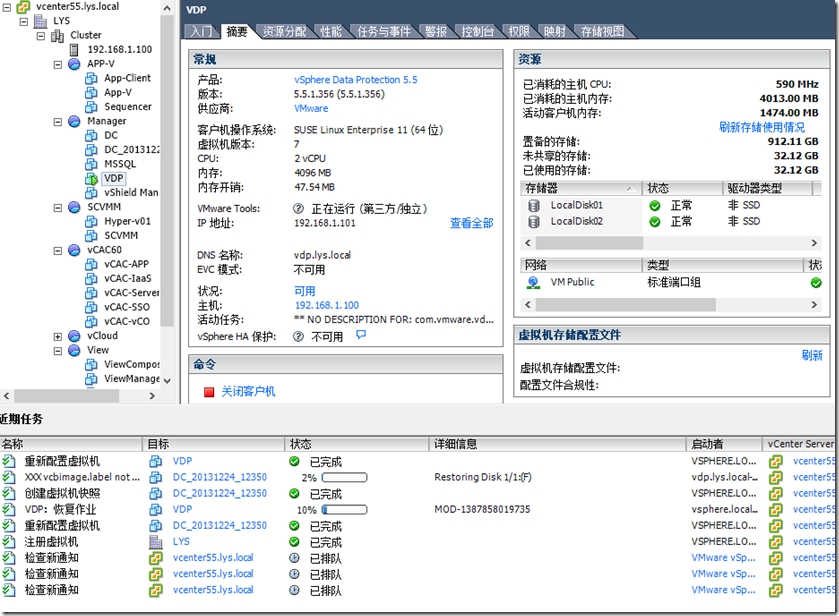
18. 切换到“Tasks”选项卡,查看虚拟机还原情况
四、维护
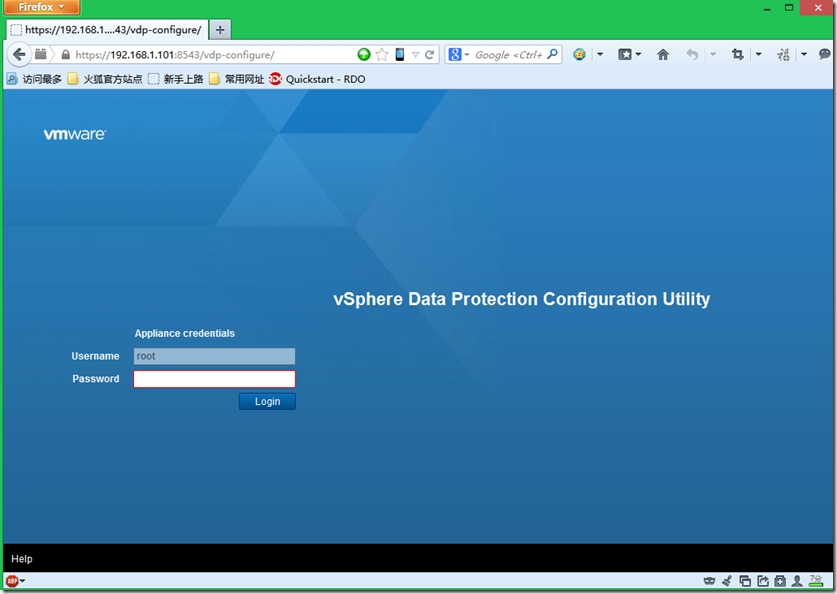
1. 使用浏览器打https://192.168.1.101:8543/vdp-configure/,输入root密码进入到VDP维护管理界面
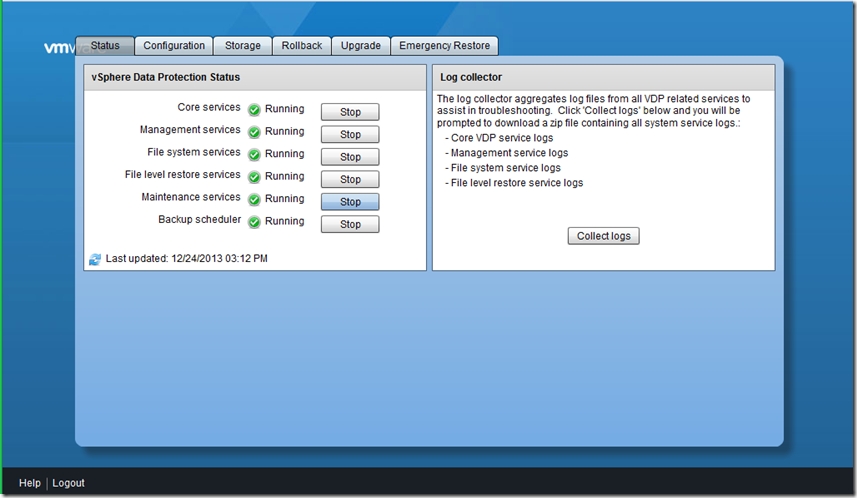
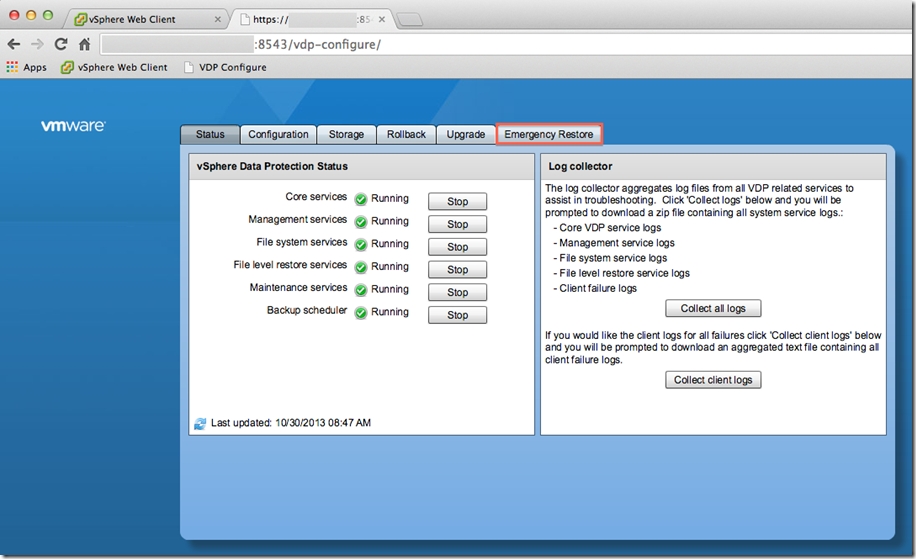
2. 查看相关服务器运行状态,如果哪一个服务没有运行,手工选择“start”运行该服务,如服务仍旧无法运行,使得右边收集日志以便进一步排错。Maintenance services默认在部署完成后的头24-48小时是disable,以后会自动启用该服务。
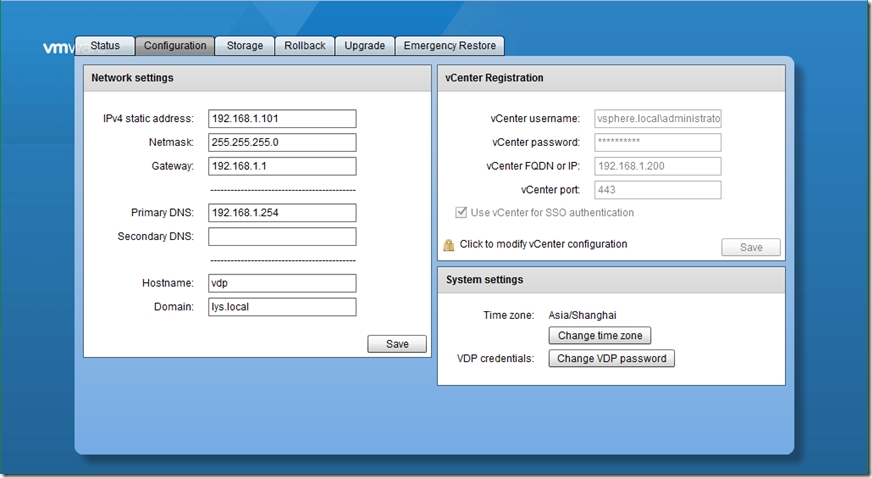
3. 在“Configuration”选项卡里显示相关网络及主机名等信息,及和VC的注册信息,需要可以进行更改
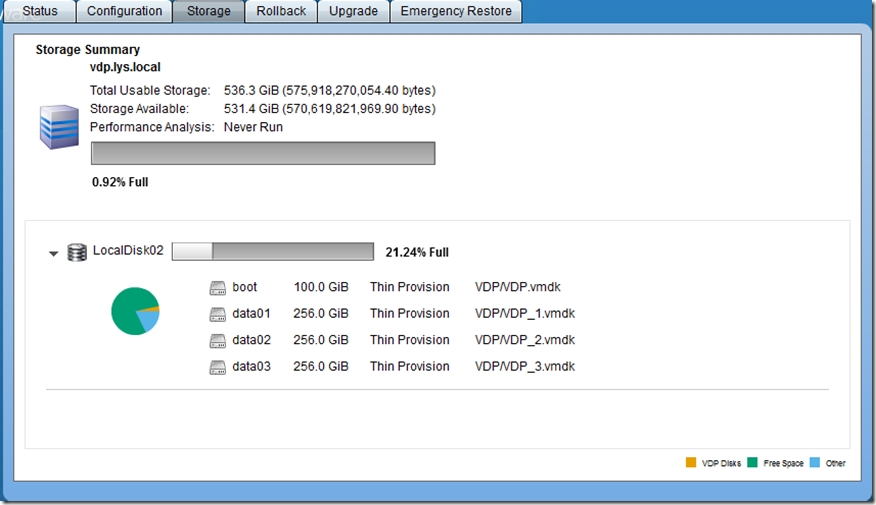
4. “Storage”选项卡显示备份存储空间的使用情况
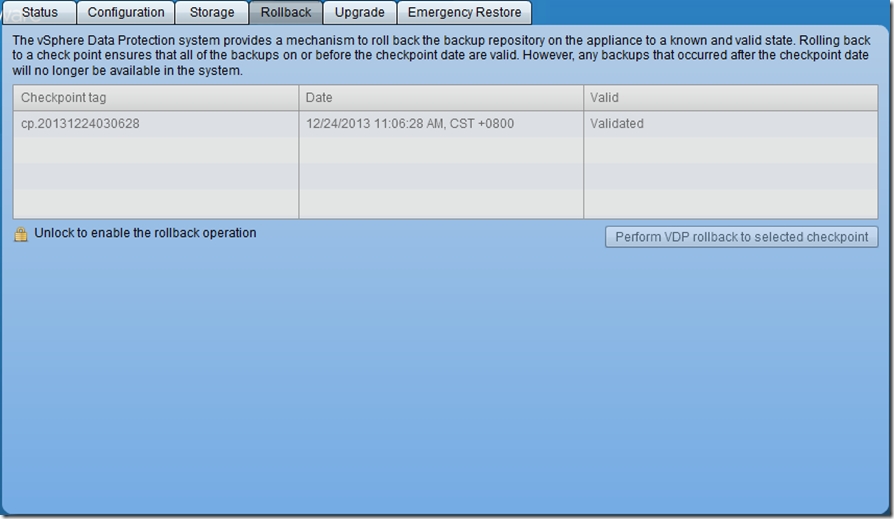
5. “Rollback”选项卡,当VDP虚拟机出现 inconsistent 和unstable的情况下,VDP虚拟机会显示如下提示信息
It appears that your VDP Appliance has suffered an unclean shutdown and will likely require a checkpoint rollback to restore
data protection functionality. This process may be initiated from the ’Rollback’ tab.
需要对VDP虚拟机进行Rollback处理,而在Checkpoint和Rollback之间的所有备份数据会丢失。
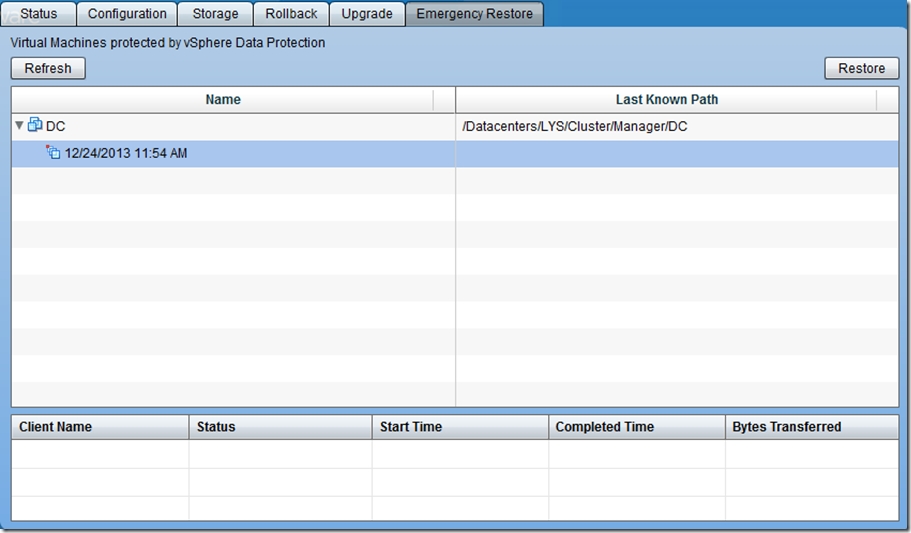
6. 紧急虚拟机还原,即VDP所在vcenter的web client不好使的时候,或AD帐户验证出现故障的时候,可以使用紧急虚拟机还原备份过的虚拟机。
详细说明如最后面
五、vSphere Data Protection Direct-to-Host Emergency Restore
One of the most popular feature requests for vSphere Data Protection (VDP) 5.1 and vSphere Data Protection Advanced (VDP Advanced) 5.1 was the ability to restore a virtual machine (VM) directly to a vSphere host when vCenter Server and/or vSphere Web Client were offline. VDP 5.5 was announced at VMworld in San Francisco and, as you may already know, this feature was introduced. It is called Emergency Restore. VDP Advanced 5.5 was recently announced at VMworld in Barcelona. VDP Advanced 5.5 is not available for download yet, but as you would expect, Emergency Restore will be a feature of VDP Advanced 5.5. This article takes a closer look at Emergency Restore and discusses a few use cases.
Emergency Restore is accessed by logging into the VDP Configure user interface (UI) with a supported web browser.
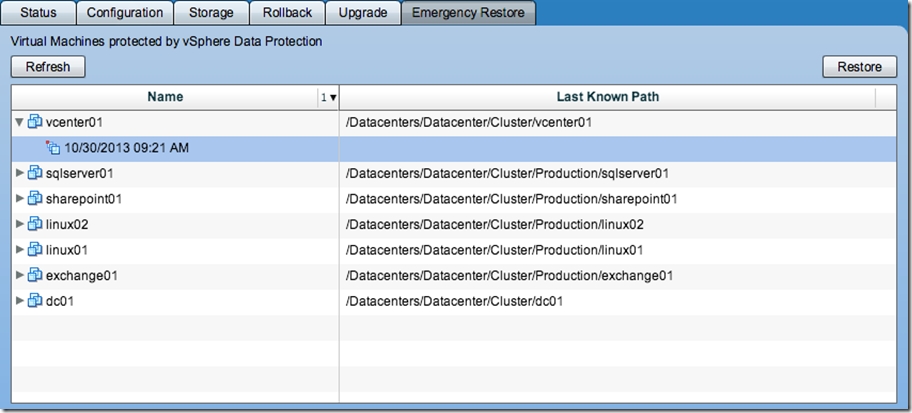
The Emergency Restore tab shows the virtual machines (VMs) available for restore. Clicking the small arrow next to a VM expands the list of available restore points (date and time) for that VM. To initiate a restore, select a restore point and click the Restore button. The progress of the restore job can be monitored on the Emergency Restore tab.
It is important to understand the requirements and limitations around using Emergency Restore:
DNS must be available and configured properly for the VDP appliance and the vSphere host on which the VDP appliance is running.
Emergency Restore can only restore a VM to the vSphere host on which the VDP appliance is running.
A restored VM is placed in the root of the vSphere host inventory.
VM is restored as a new VM – ensure that the name provided for the VM is not already in use on the vSphere host to avoid overwriting an existing VM.
Restored VM will be in a powered off state – the VM can be manually powered on after the restore is complete.
The vSphere host running the VDP appliance must be disassociated from vCenter Server for Emergency Restore to work. This can be accomplished by using the vSphere Client (not vSphere Web Client) connected directly to the vSphere host. “Disassociate host from vCenter Server…” is located in Host Management on the Summary tab (when the host is selected in the left window panel of the vSphere Client). This must be done prior to performing the Emergency Restore.
It is no secret that VDP and VDP Advanced utilize EMC Avamar technology. A significant amount of development work on VDP and VDP Advanced is done by EMC engineers. A couple of the QA engineers at EMC have written an excellent document that covers Emergency Restore in greater detail. This paper also discusses best practices for properly protecting and restoring vCenter Server and a Microsoft Windows Server 2012 AD domain controller with VDP 5.5 and VDP Advanced 5.5. Some of the information in this article was taken from this document which can be viewed here:
Thank you to Mohammed Samad and Vemuri Krishna for creating and making this document available!
本文出自 “虚实之路” 博客,请务必保留此出处http://vmroad.blog.51cto.com/9509852/1600153

