vue项目引用腾讯地图API
时间:2021-06-24 17:49:00
收藏:0
阅读:0
1 前期准备
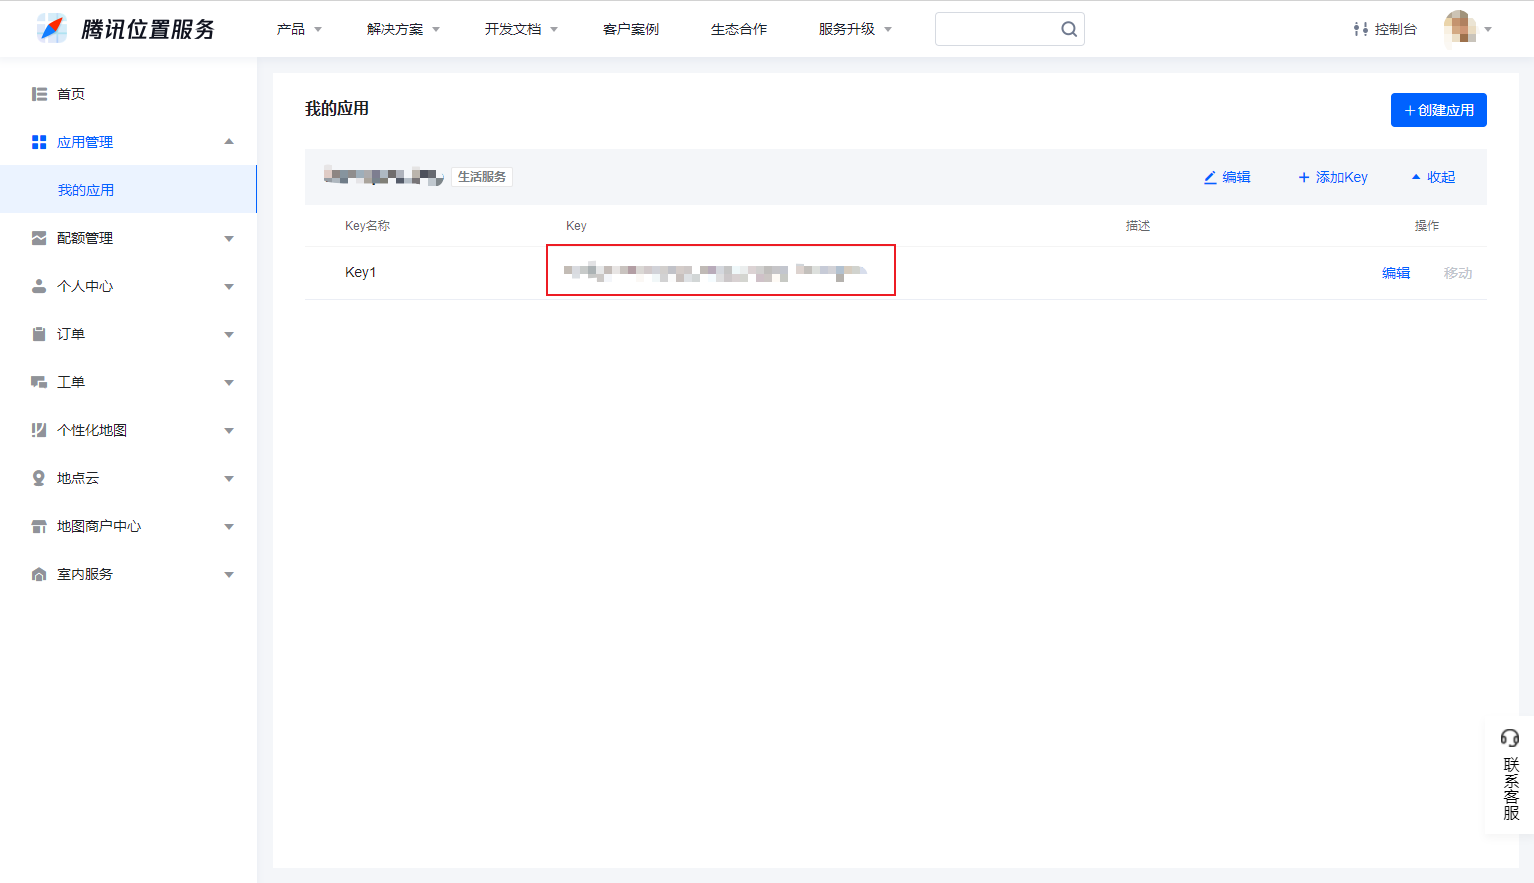
在腾讯位置服务控制台创建应用获得key

2 引用API
vue项目根目录为project
在project/public/index.html中的<head>块引入<script charset="utf-8" src="https://map.qq.com/api/gljs?v=1.exp&key=XXXXXXXXXXXXXXX"></script>
3 在组件中使用
<template>
    <body>
        <div id=‘container‘></div>
    </body>
</template>

<style scoped>
#container{
    /*地图(容器)显示大小*/ /*设置为全屏,位于最下层*/
        width:100%;
        height:100%;
        position: absolute;
        top: 0px;
        bottom: 0px;
        left: 0px;
        right: 0px;
        z-index: -1;
}
</style>

<script>
export default{
    data(){
        return{
            markerUrl: require("../assets/marker.png"),  // 点标记图片路径
            map: ‘‘,
            zoom: 4,  // 地图一开始的缩放级别
            center: new window.TMap.LatLng(39.984120, 116.307484),  // 地图一开始的中心点
            markerLayer: ‘‘,
        }
    },
    mounted(){
        this.initMap(this.center, this.zoom)  // 初始化页面后直接初始化地图
    },
    methods:{
        initMap(center, zoom) {
            this.map = new window.TMap.Map(document.getElementById(‘container‘), {
                center: center,//设置地图中心点坐标
                zoom: zoom,   //设置地图缩放级别
                pitch: 0,  //设置俯仰角
                rotation: 0    //设置地图旋转角度
            });

            this.markerLayer = new window.TMap.MultiMarker({  // 创建标记层
                map: this.map,  //指定地图容器
                geometries: [],
                styles: {  // 点标记样式
                    "mystyle": new window.TMap.MarkerStyle({
                        "width": 20,
                        "height": 20,
                        "src": this.markerUrl,
                        "anchor": { x: 10, y: 10 },
                        "opacity": 0.5
                    })
                }
            });
        },

        // 添加点标记
        addPoint(point) { // 一个point需要有id和坐标
            this.markerLayer.add([
                {
                    ‘id‘: point[‘id‘],
                    ‘styleId‘: ‘mystyle‘,
                    "position": new window.TMap.LatLng(point[‘latitude‘], point[‘longitude‘]),
                    "properties":{} // 自定义属性,可以没有
                }
            ])
        },
    }
}
</script>
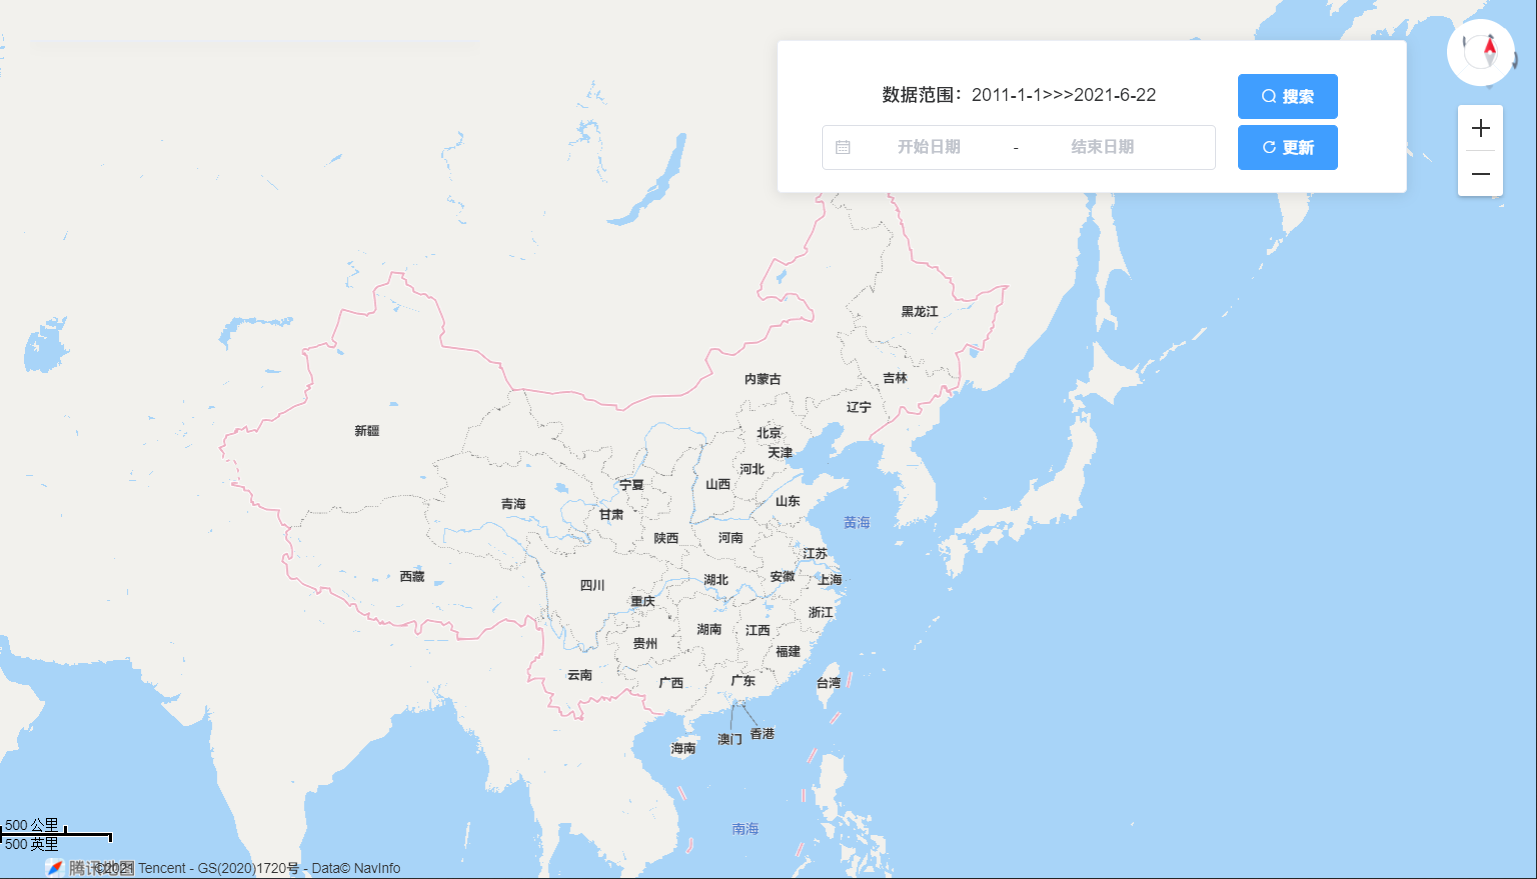
效果展示
Demo: http://81.68.76.27:8000/
源码: https://github.com/zouxlin3/EarthquakeMap

评论(0)
