uni-app 小程序 前置摄像头
时间:2021-06-19 19:24:30
收藏:0
阅读:0
在小程序拍照的话,
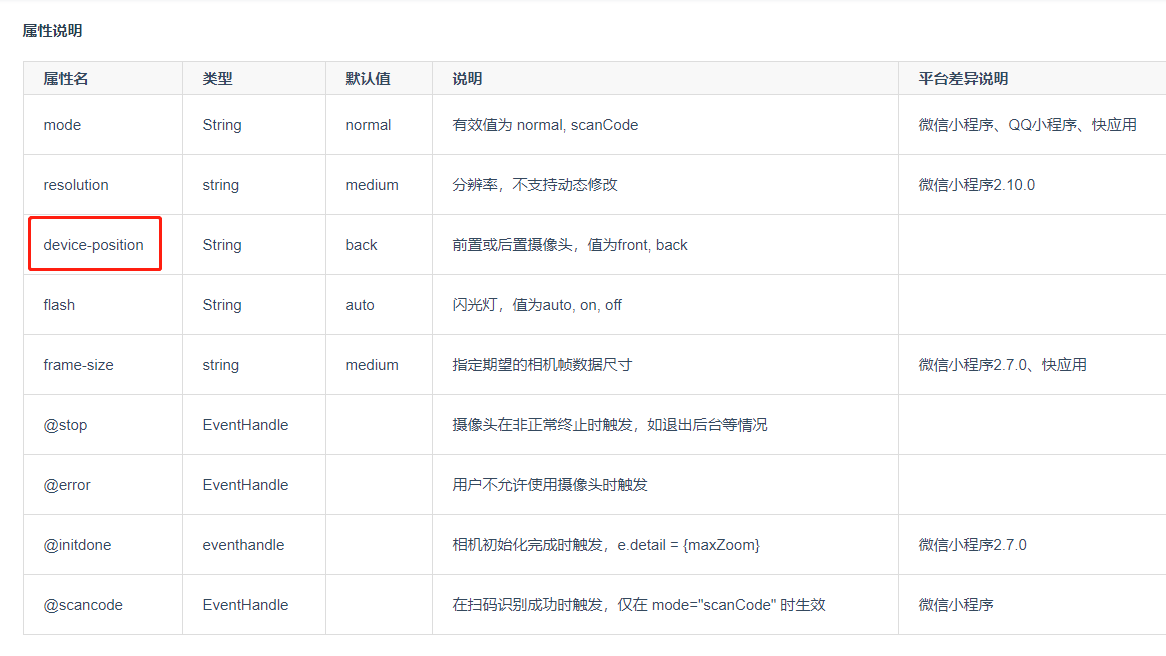
在查找官方文档发现,可以通过

页面代码
<!-- 相机拍照 -->
<view class="" v-if="ifPhoto">
    <!-- 相机 -->
    <camera :device-position="convert" flash="off" @error="error"class="camera">    </camera>
    <!-- 操作 -->
    <view class="padding bottom_code flex align-center justify-between">
    <!-- 返回 -->
        <view class="code_button" @click="back">
            <image src="../../static/face/icon_return.png" mode="aspectFill"</image>
        </view>
        <!-- 拍照 -->
        <view class="code_button" @click="takePhoto">
            <image src="../../static/face/icon_phone.png" mode="aspectFill"></image>
        </view>
        <!-- 切换摄像头 -->
        <view class="code_button" @click="showConvert">
            <image src="../../static/face/icon_switch.png" mode="aspectFill"></image>
        </view>
    </view>
</view>
<!-- 照片查看 -->
<view class="" v-else>
    <view class="img_code flex align-center justify-center">
        <image :src="src" mode=""></image>
    </view>
    <!-- 操作 -->
    <view class="padding margin-top flex align-center">
        <button class="cu-btn round bg-green lg" style="width: 350rpx;" @click="anew">重新拍摄</button>
        <button class="cu-btn round bg-yellow lg text-white margin-left" style="width: 350rpx;"@click="uploading">上传</button>
    </view>
</view>
    //true 拍照 false 查看
    ifPhoto: true,
    //照片
    src: null,
    //前置或后置摄像头,值为front, back
    convert: ‘front‘
//拍照
takePhoto() {
    const ctx = uni.createCameraContext();
    ctx.takePhoto({
        quality: ‘high‘,
        success: (res) => {
            console.log(res);
            this.src = res.tempImagePath
            if (this.src != null) {
                    this.ifPhoto = false
            }
        }
    });
},
//摄像头启动失败
error(e) {
    console.log(e.detail);
},
//切换摄像头
showConvert() {
    if (this.convert == ‘front‘) {
        // 后置
        this.convert = ‘back‘
    } else {
        // 前置
        this.convert = ‘front‘
    }
},
//返回
back() {
    uni.navigateBack({
        delta: 1
    })
},
//重新
anew() {
    this.ifPhoto = true
},
//上传
uploading() {
    console.log(‘上传‘);
}
<style lang="scss">
// 相机
.camera {
    width: 100%;
    height: 100vh;
}

//操作
.bottom_code {
    position: fixed;
    bottom: 10rpx;
    left: 0;
    width: 100%;
    height: 120rpx;
    // background-color: #1CA6EC;

    .code_button {
        width: 90rpx;
        height: 90rpx;

        // border-radius: 50%;
        image {
            width: 100%;
            height: 100%;
        }
    }
}
.img_code {
    width: 100%;
    height: 80vh;
    padding-top: 180rpx;

    image {
        width: 100%;
        height: 100%;
    }
}
</style>
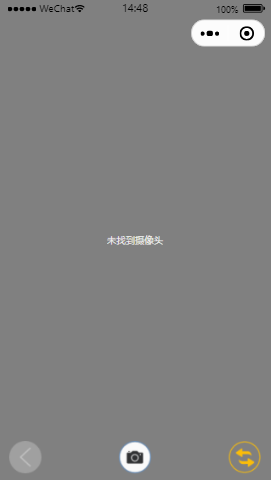
最后样式 因为是模拟器所以没有 真机调试就可以了

评论(0)
