SpringBoot整合ActiveMQ
时间:2020-08-11 10:38:48
收藏:0
阅读:71
ActiveMQ介绍
MQ是消息中间件,是一种在分布式系统中应用程序借以传递消息的媒介,常用的有ActiveMQ,RabbitMQ,kafka。ActiveMQ是Apache下的开源项目,完全支持JMS1.1和J2EE1.4规范的JMS Provider实现。
特点:
1、支持多种语言编写客户端
2、对spring的支持,很容易和spring整合
3、支持多种传输协议:TCP,SSL,NIO,UDP等
4、支持AJAX
消息形式:
1、点对点(queue)
2、一对多(topic)
ActiveMQ在windows上的安装步骤:
访问http://activemq.apache.org/ (ActiveMQ官网)
下载完成之后解压压缩包
配置JAVA_HOME变量,然后打开bin目录
双击activemq,运行
访问http://localhost:8161/admin 用户名和密码都填写admin
出现如下界面访问成功
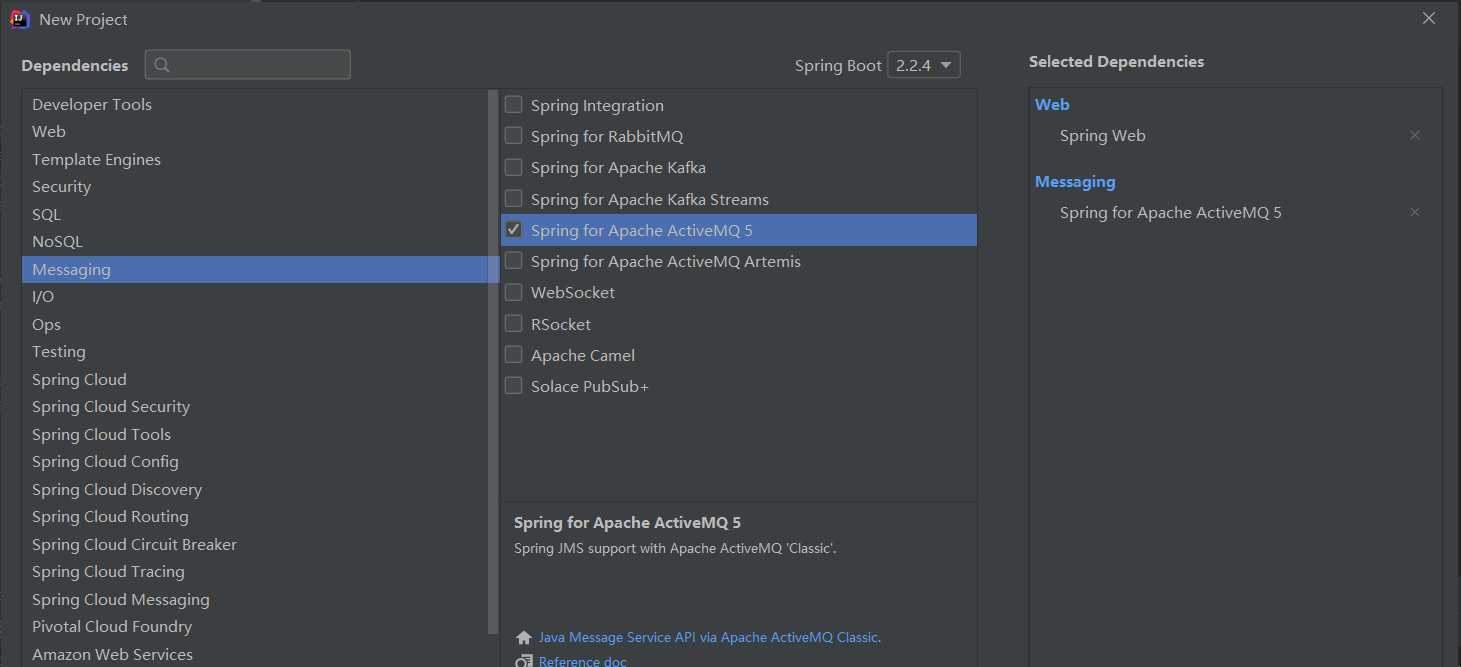
整合springboot
appliaction.properties配置
spring.activemq.broker-url=tcp://112.124.20.231:61616
# 表示可以发送对象
spring.activemq.packages.trust-all=true
spring.activemq.user=admin
spring.activemq.password=admin
在启动类中写消息队列对象
package org.javaboy.activemq;

import org.apache.activemq.command.ActiveMQQueue;
import org.springframework.boot.SpringApplication;
import org.springframework.boot.autoconfigure.SpringBootApplication;
import org.springframework.context.annotation.Bean;

import javax.jms.Queue;


@SpringBootApplication
public class ActivemqApplication {

    public static void main(String[] args) {
        SpringApplication.run(ActivemqApplication.class, args);
    }

    @Bean
    Queue queue() {
        return new ActiveMQQueue("hello.javaboy");   //队列名称
    }
}
定义消息收发的方法
package org.javaboy.activemq;


import org.springframework.beans.factory.annotation.Autowired;
import org.springframework.jms.annotation.JmsListener;
import org.springframework.jms.core.JmsMessagingTemplate;
import org.springframework.stereotype.Component;

import javax.jms.Queue;

//定义消息收发的方法
@Component
public class JmsComponent {
    @Autowired
    JmsMessagingTemplate jmsMessagingTemplate;  //消息发送模板
    @Autowired
    Queue queue;

    //定义方法发送message
    public void send(Message message) {
        jmsMessagingTemplate.convertAndSend(this.queue,message);
    }

    //定义接受消息
    @JmsListener(destination = "hello.javaboy")
    public void receive(Message message) {
        System.out.println(message);
    }
}
其中我们还需要Message消息实体类
package org.javaboy.activemq;

import java.io.Serializable;
import java.util.Date;

public class Message implements Serializable {
    private String content;  //消息主体
    private Date sendData;   //消息发送日期

    public String getContent() {
        return content;
    }

    public void setContent(String content) {
        this.content = content;
    }

    public Date getSendData() {
        return sendData;
    }

    public void setSendData(Date sendData) {
        this.sendData = sendData;
    }

    @Override
    public String toString() {
        return "Message{" +
                "content=‘" + content + ‘\‘‘ +
                ", sendData=" + sendData +
                ‘}‘;
    }
}
接下来定义一个测试类看看发出的消息是否被收到
package org.javaboy.activemq;

import org.junit.Test;
import org.junit.runner.RunWith;
import org.springframework.beans.factory.annotation.Autowired;
import org.springframework.boot.test.context.SpringBootTest;
import org.springframework.test.context.junit4.SpringRunner;

import java.util.Date;

@RunWith(SpringRunner.class)
@SpringBootTest
public class ActivemqApplicationTests {

    @Autowired
    JmsComponent jmsComponent;

    @Test
    public void contextLoads() {
        Message message = new Message();
        message.setContent("hello javaboy");
        message.setSendData(new Date());
        jmsComponent.send(message);
    }

}
配置类中的接受方法接收到了发送方的信息(destination中的名称和application.properties中写的相同。)
控制台打印成功
Message{content=‘hello javaboy‘, sendData=Tue Feb 11 11:37:22 GMT+08:00 2020}
评论(0)