caffe:mac10.12安装caffe的步骤
前言:caffe官网中安装caffe时涉及的东西比较多而杂乱,其实有些东西可以忽略掉。
步骤:
mac10.12本身自带了python2.7,可以使用系统自带的python
1.安装Homebrew:
在终端中输入 ruby -e "$(curl -fsSL https://raw.githubusercontent.com/Homebrew/install/master/install)"
2.安装caffe需要用到的一些依赖库,在终端中依次输入下面几行
brew install -vd snappy leveldb gflags glog szip lmdb
# need the homebrew science source for OpenCV and hdf5
brew tap homebrew/science
brew install hdf5 opencv
# with Python pycaffe needs dependencies built from source
brew install --build-from-source --with-python -vd protobuf
brew install --build-from-source -vd boost boost-python
3.安装caffe需要的BLAS,caffe官网描述(如下)的是可以选择使用mac自带的 Accelerate / vecLib Framework,也可以选择OpenBLAS和MKL。我没整明白Accelerate / vecLib Framework,我选择的是安装 openblas。
BLAS: already installed as the Accelerate / vecLib Framework. OpenBLAS and MKL are alternatives for faster CPU computation.
下载 openblas源码并编译安装到/usr/local目录:
tar xvf OpenBLAS-0.2.19.tar.gz
cd OpenBLAS-0.2.19
make
make PREFIX=/usr/local install
到这里,caffe需要依赖的所有库安装完毕,开始安装caffe
4.安装caffe
在终端执行以下几行:
git clone https://github.com/BVLC/caffe
cd /Users/XXX/caffe #caffe的下载地址
cp Makefile.config.example Makefile.config
需要修改Makefile.config文件:
1. 将 CPU_ONLY := 1的注释去掉,这样Caffe就只能在CPU上运行了
2.更改BLAS的配置
# BLAS choice:
# atlas for ATLAS (default)
# mkl for MKL
# open for OpenBlas
BLAS := open
# Custom (MKL/ATLAS/OpenBLAS) include and lib directories.
# Leave commented to accept the defaults for your choice of BLAS
# (which should work)!
BLAS_INCLUDE := /usr/local/include
BLAS_LIB := /usr/local/lib
然后在终端执行:
make all
make test
make runtest
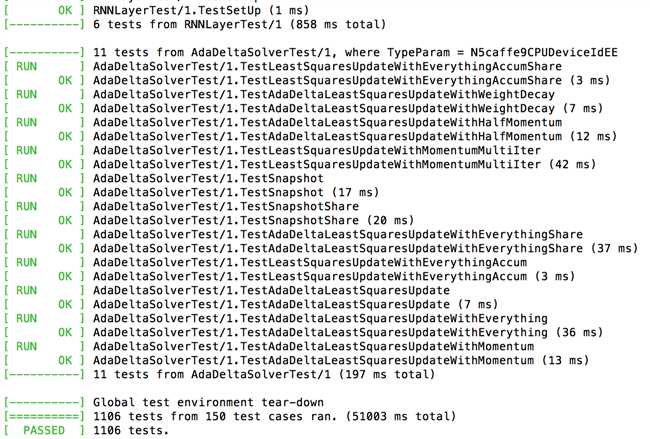
caffe安装成功的话,会显示如下:

