Zabbix监控之使用Zabbix监控windows主机【7】
Zabbix监控 之使用Zabbix监控windows主机【7】
我们前面介绍了Zabbix3.0监控linux主机,今天我们使用Zabbix监控windows主机,其实操作都是一样的;具体见下:
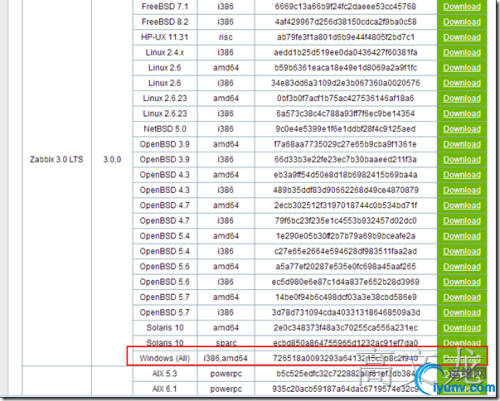
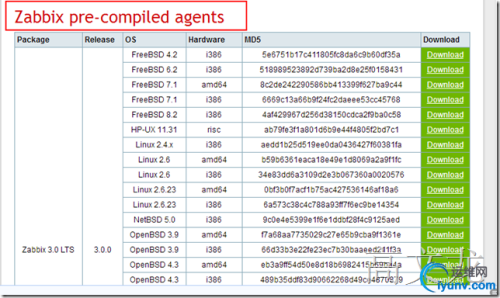
我们首先下载windows zabbix agent安装服务;我们第一个url是下载链接,第二个第三个是最新的3.0和2.2.9的下载链接;
http://www.zabbix.com/download.php
http://www.zabbix.com/downloads/3.0.0/zabbix_agents_3.0.0.win.zip
http://www.zabbix.com/downloads/2.2.9/zabbix_agents_2.2.9.win.zip
我们下载后,解压开始有多个文件;
conf目录存放是agent配置文件
bin文件存放windows下32位和64位安装程序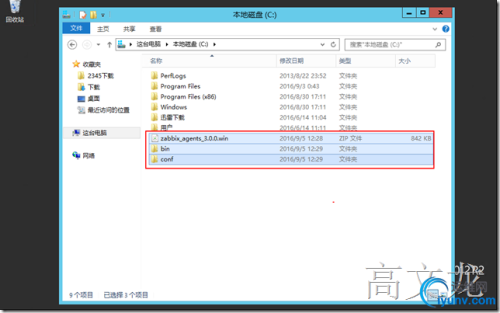
找到conf下的配置文件 zabbix_agentd.win.conf ,修改LogFile、Server、、ServerActive、Hostname这四个参数。具体配置如下:
LogFile=c:\zabbix_agentd.log
Server=192.168.7.50
Hostname=download
ServerActive=192.168.7.50 #zabbix server地址
其中logfile是zabbix日志存放地址。Server 是zabbix服务端ip地址。Hostname是本机机器名。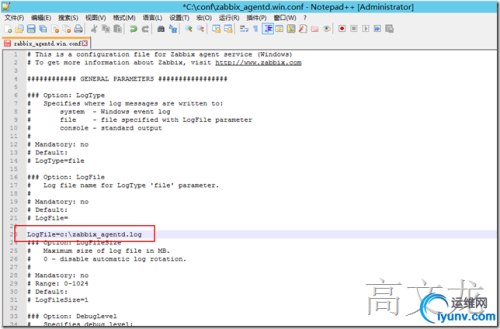
server=192.168.7.50
192.168.7.50是zabbix -server的服务器地址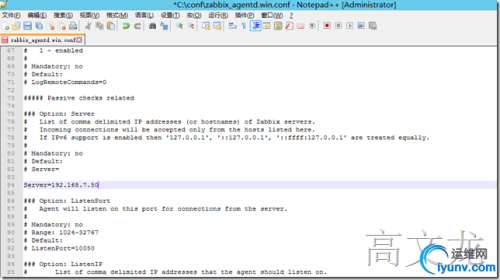
server-active地址是主动通信服务器地址,该地址也是需要填写zabbix server的地址
192.168.7.50是zabbix -server的服务器地址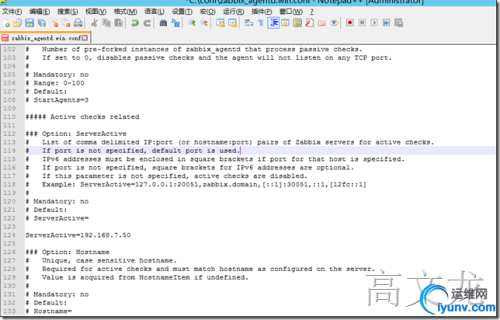
hostname我们需要填写zabbix agent本地的hostname信息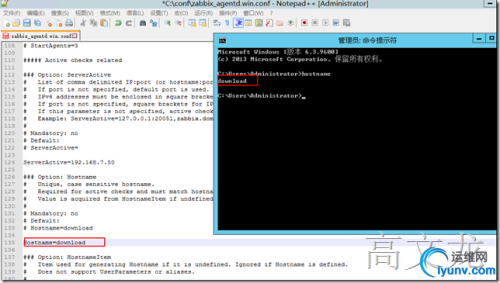
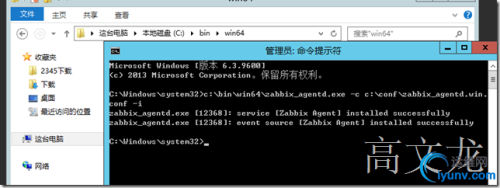
配置好后,开始安装zabbix-agent,其实就是将zabbix-agent添加到windows服务中;
在windows控制台下执行以下命令:
| 1 | c:\bin\win64\zabbix_agentd.exe -c c:\conf\zabbix_agentd.win.conf -i |
| 1 | c:\bin\win64\zabbix_agentd.exe -c c:\conf\zabbix_agentd.win.conf -s |
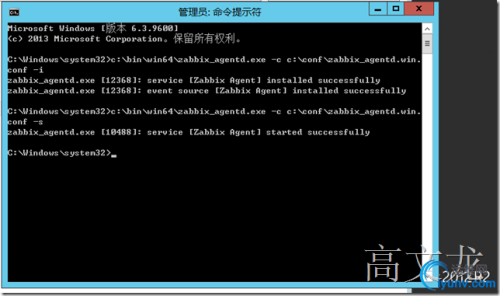
查看log文件发现,有错误提示
13124:20160905:124128.317 Starting Zabbix Agent [Windows host]. Zabbix 3.0.0 (revision 58455).
13124:20160905:124128.317 **** Enabled features ****
13124:20160905:124128.317 IPv6 support: YES
13124:20160905:124128.317 TLS support: NO
13124:20160905:124128.317 **************************
13124:20160905:124128.317 using configuration file: c:\conf\zabbix_agentd.win.conf
13124:20160905:124128.332 agent #0 started [main process]
9776:20160905:124128.332 agent #1 started [collector]
12504:20160905:124128.332 agent #2 started [listener #1]
12772:20160905:124128.332 agent #3 started [listener #2]
13252:20160905:124128.332 agent #4 started [listener #3]
12516:20160905:124128.332 agent #5 started [active checks #1]
12516:20160905:124129.364 active check configuration update from [127.0.0.1:10051] started to fail (cannot connect to [[127.0.0.1]:10051]: Connection refused.)
我们通过查看端口,zabbix-agent已经正常启动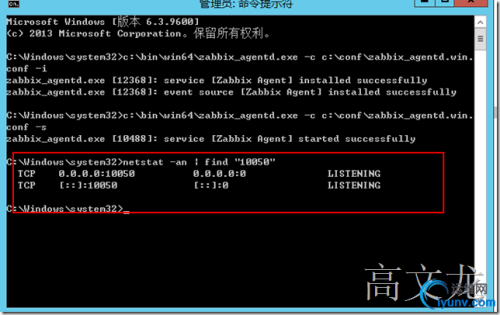
我们通过打开服务控制台也可以看见,zabbix-agent已经添加到了服务列表中;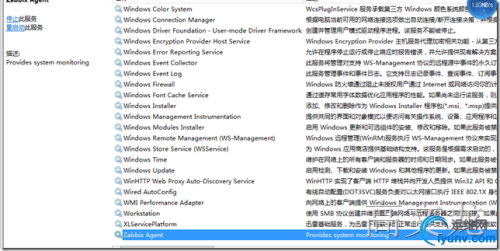
我们在zabbix-server上添加主机了;
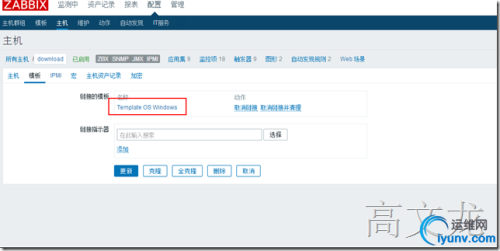
添加模板:我们选择windows服务器的模板
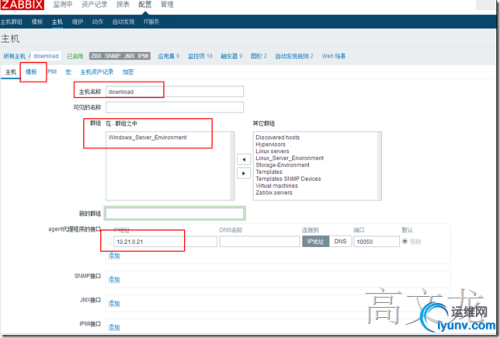
添加完成:
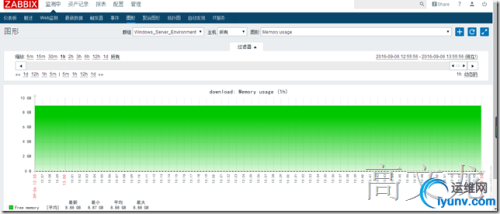
我们通过查看图像来确认服务器的可用性资源;内存资源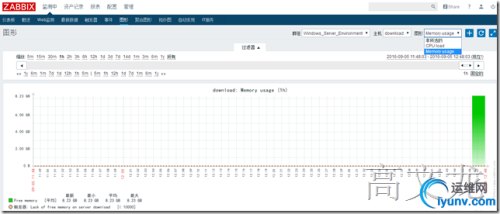
因为模板中有两条自动发现规则,主要是针对网络和系统文件信息的;所以会出现很多自动发现的相关信息;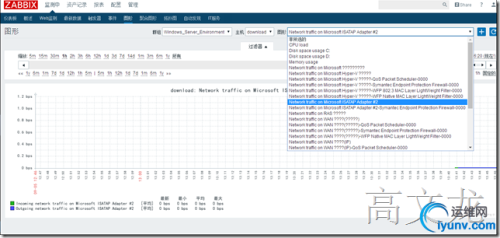
c盘磁盘空间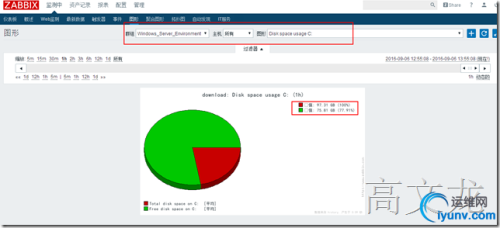
D盘磁盘空间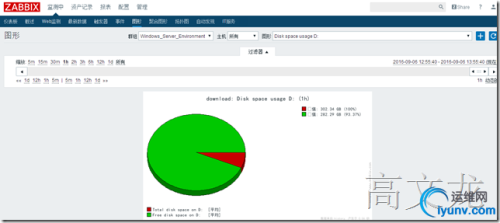
内存使用
本文出自 “无法长大” 博客,请务必保留此出处http://tfbaby.blog.51cto.com/3125450/1902911

