wamp集成环境php多版本搭建(php5.5,php5.6,php7.0.6)
时间:2016-05-19 23:16:28
收藏:0
阅读:13502
首先需要搭建的版本可以在php官方(http://windows.php.net/download)下载对应的版本,X86对应的是32位操作系统,X64对应的是64位操作系统。
1:下载之后解压,把解压的压缩包放在wamp安装目录bin目录下的php文件夹下,同时注意把文件夹名称改成符合wamp规范的名称,比如解压过后名称是php-5.6.19-Win32-VC11-x64要改成php5.6.19记住不要有横杆。


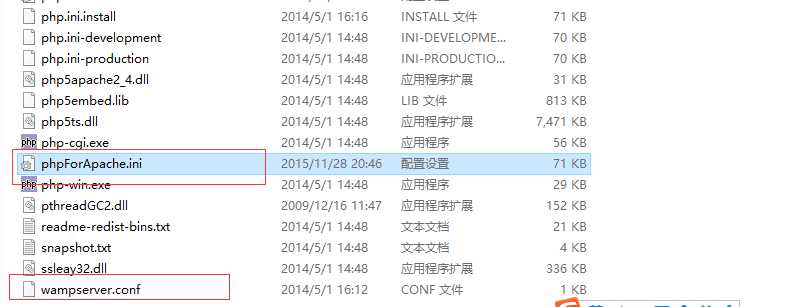
2:然后打开wamp自带的php5.5.12版本文件夹,发现比普通官方文件多了两个文件phpForApache.ini以及wampserver.conf,而wampserver.conf是直接可以拷贝过来的,同时phpForApache.ini打开发现就是php的配置文件,然后我们就知道我们需要两步骤:
1)拷贝wampserver.conf到新加入的版本中;
2)复制一份新加入版本中的php.ini-development改名为phpForApache.ini。

3:打开新加入的phpForApache.ini,搜索extension_dir把路径改为自己的安装路径,比如:extension_dir = "E:/wamp/bin/php/php5.6.19/ext/"
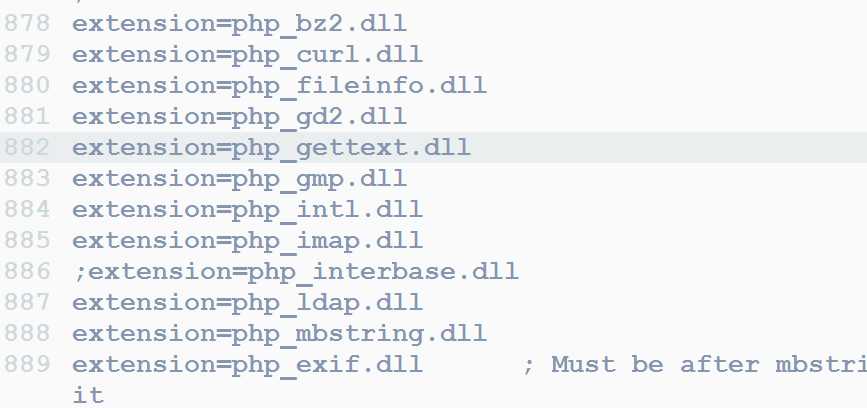
然后把extension模块需要打开的自行打开(把前面分号去掉)。

4:搜索error_reporting报错级别设置,设置对应的报错级别,比如:error_reporting = E_ALL & ~E_NOTICE & ~E_DEPRECATED
5:重启wamp发现就有新加入进来的5.6.19版本了。
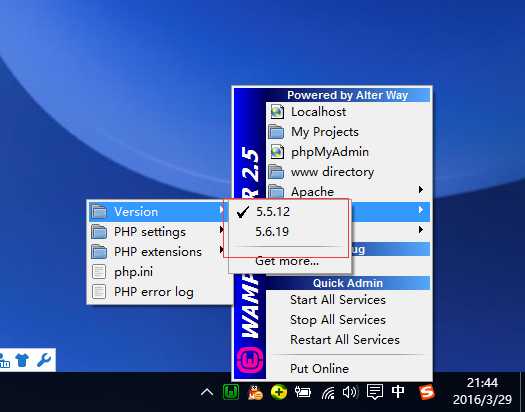

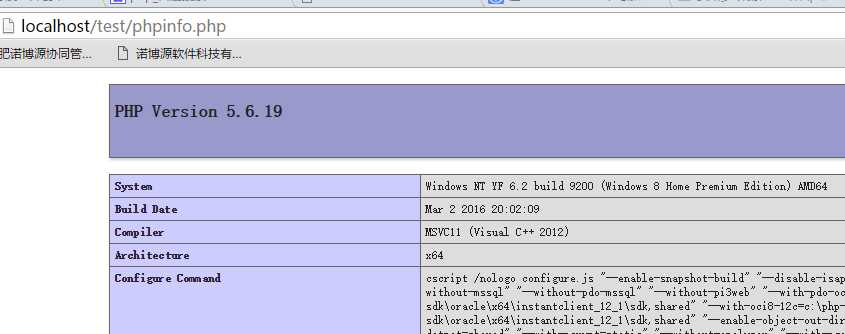
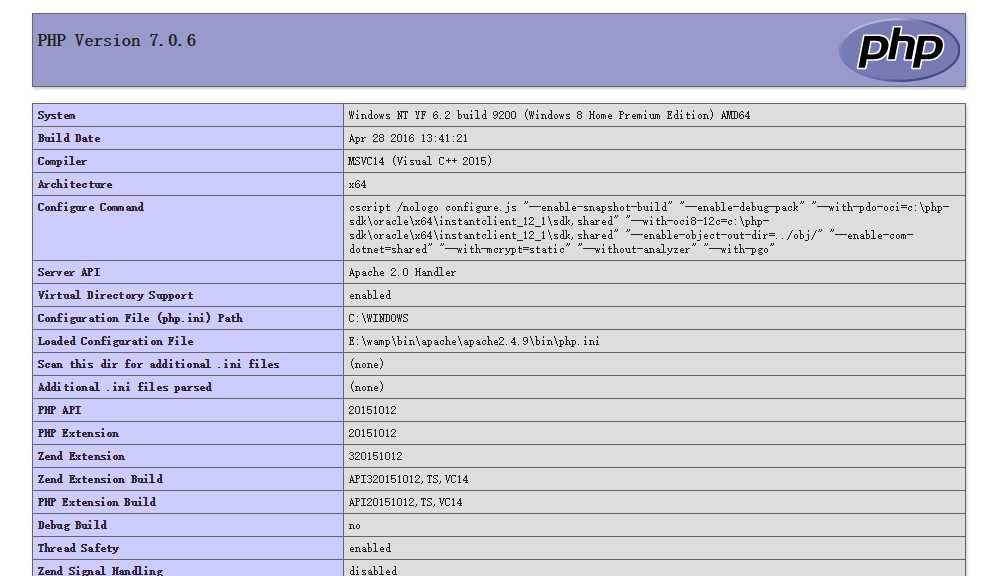
同时切换到5.6.19版本,打开phpinfo,发现已经是5.6.19版本了,到此多版本配置结束。

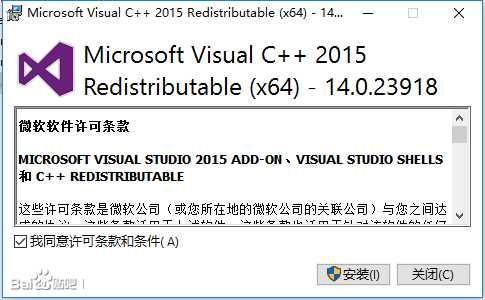
如果配置的是php7.0或者以上版本,首先,电脑需要有Visual Studio 2015 x64
安装Visual Studio 2015 x64地址: https://www.microsoft.com/en-us/download/details.aspx?id=51682
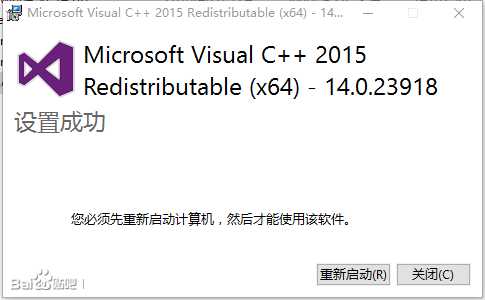
下载后直接下一步,然后重启计算机
安装Visual Studio 2015 x64地址: https://www.microsoft.com/en-us/download/details.aspx?id=51682
下载后直接下一步,然后重启计算机
剩下的同配置php5版本步骤一样;
然后打开wampserver.conf将
- $phpConf[‘apache‘][‘2.4‘][‘LoadModuleName‘]=‘php5_module‘;
- $phpConf[‘apache‘][‘2.4‘][‘LoadModuleFile‘]=‘php5apache2_4.dll‘;
修改为
- $phpConf[‘apache‘][‘2.4‘][‘LoadModuleName‘]=‘php7_module‘;
- $phpConf[‘apache‘][‘2.4‘][‘LoadModuleFile‘]=‘php7apache2_4.dll‘;
重启wamp,配置完成。

评论(0)